
The above picture is the same broccoli plant, as the feature image in the ‘My Garden’ section. Incredibly, the photos are taken nearly 8 weeks apart ( 23/4-24/6 ). In that time, besides at one stage a daily inspection and assassination of caterpillars by hand, some Seasol and watering, mother nature did all the work.
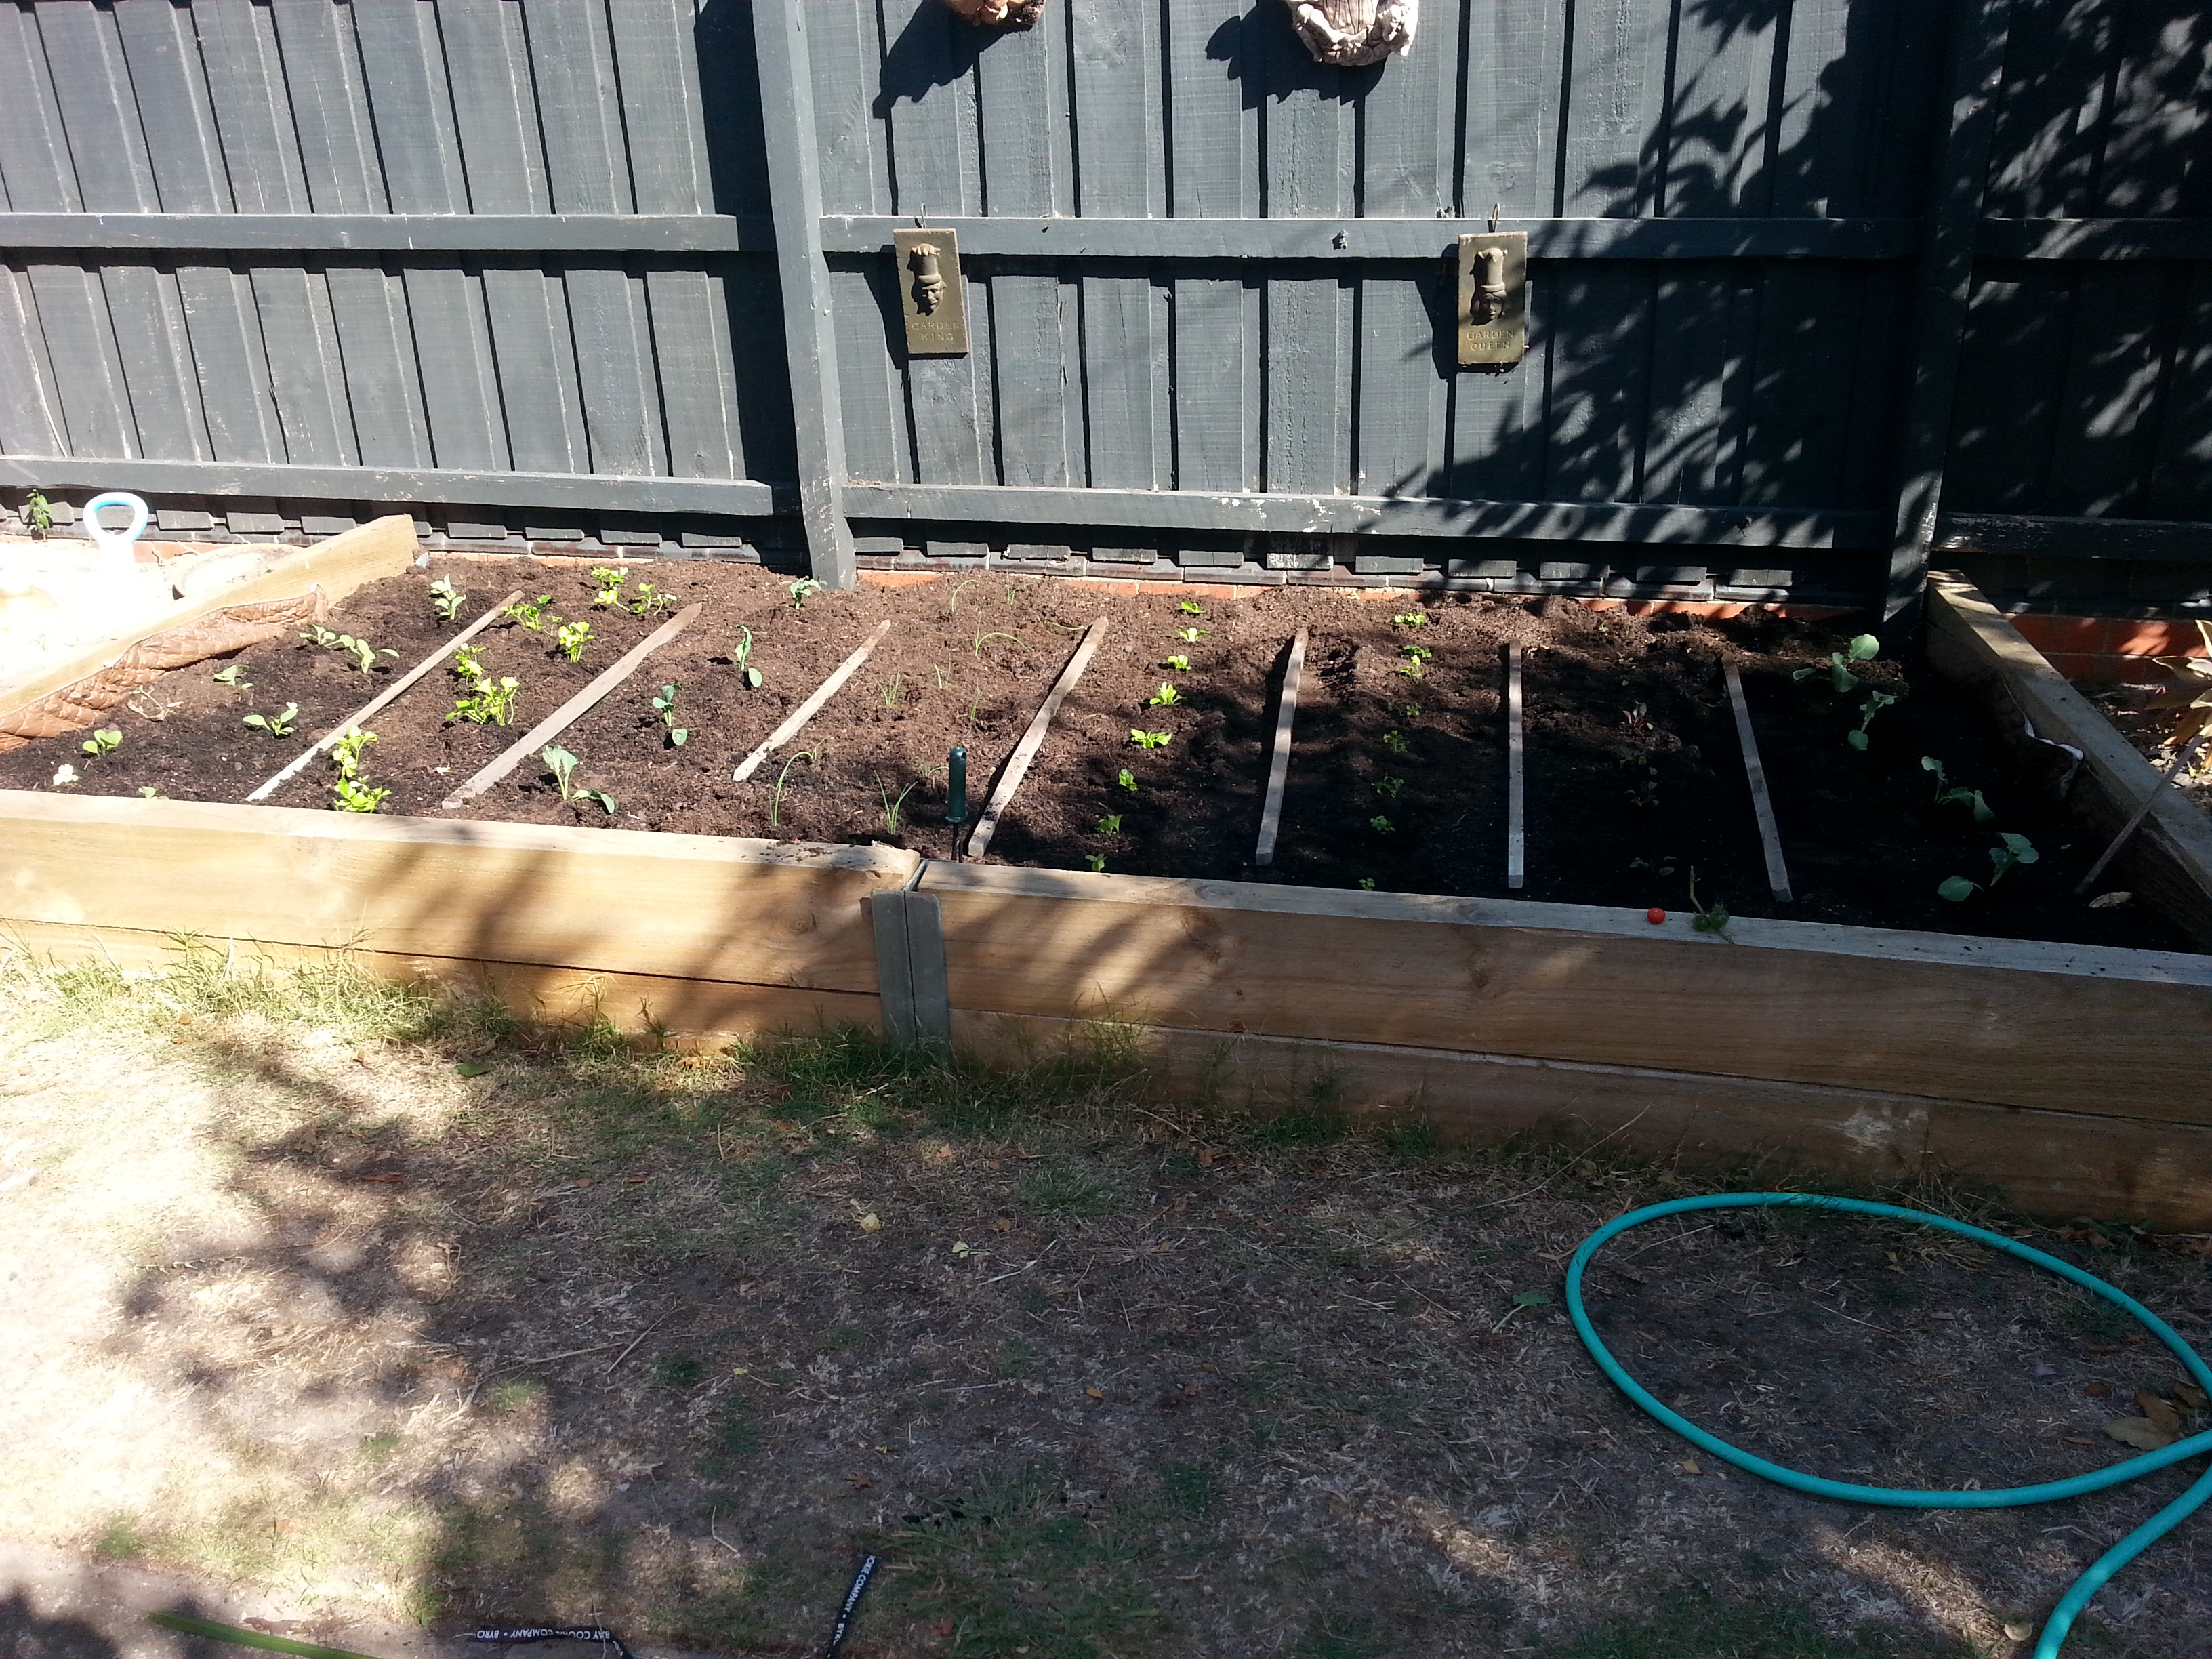
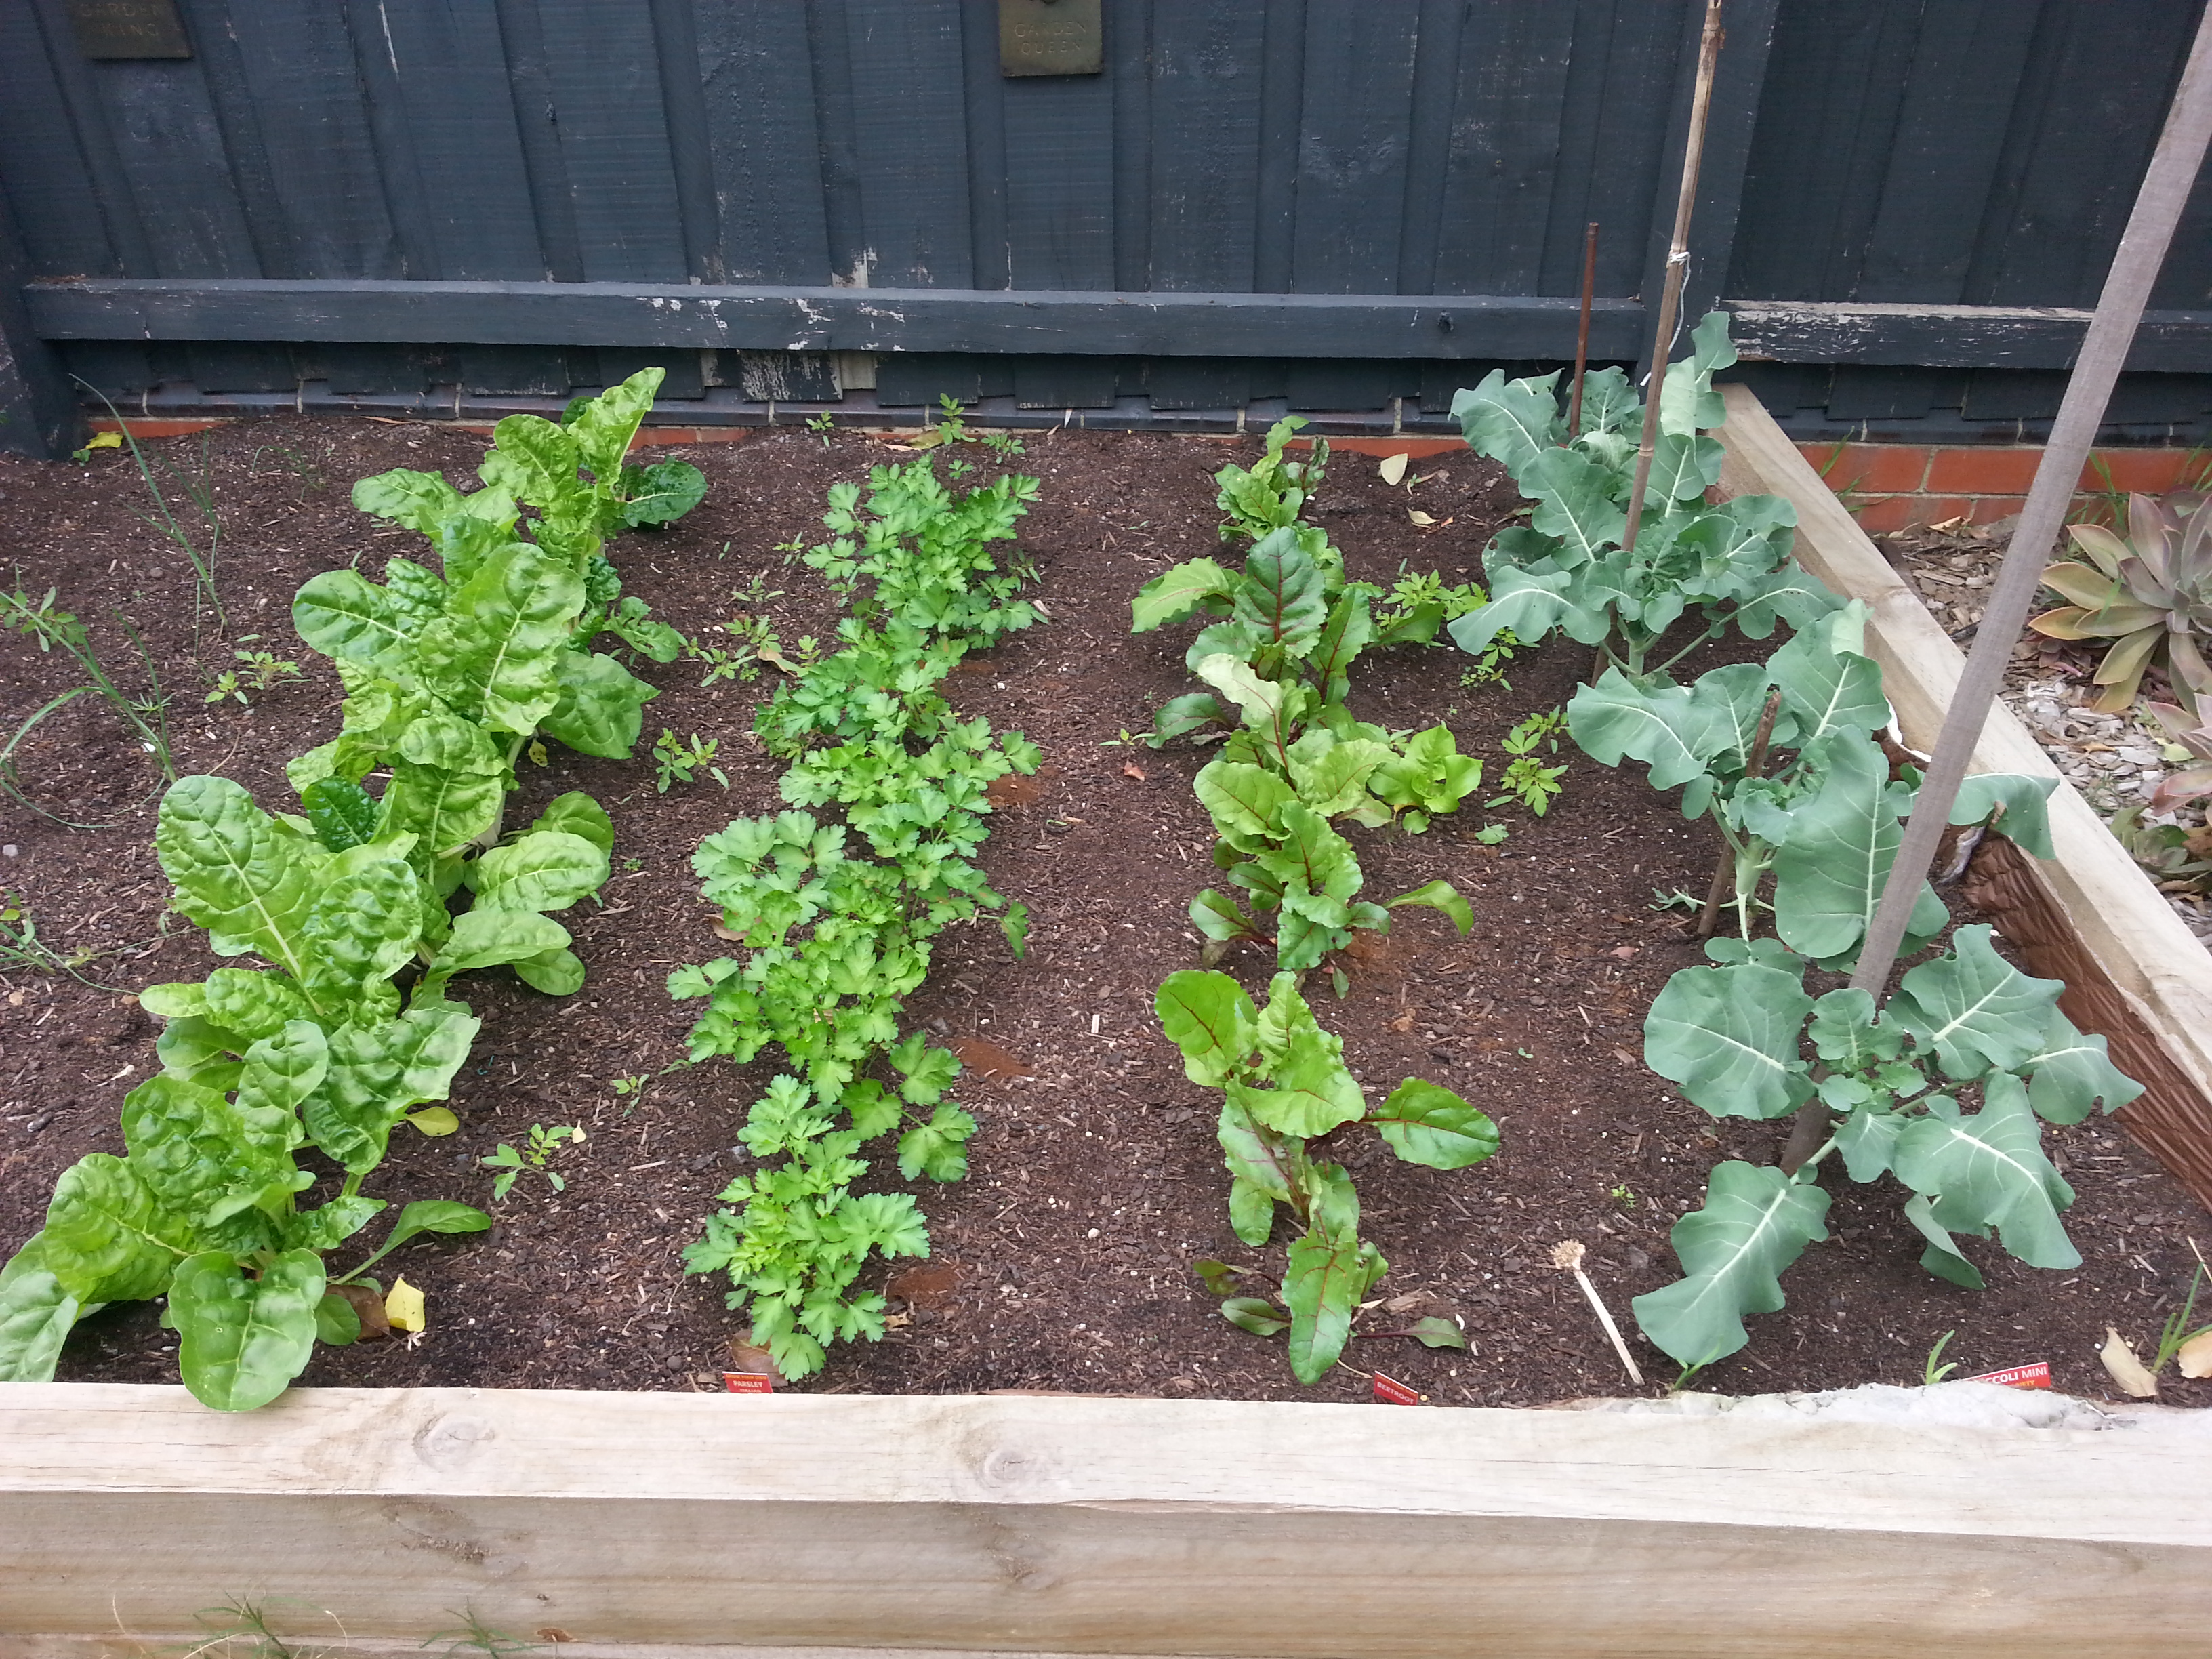
Day 1 of winter garden 29/3/15
It has now been 12 weeks since I planted my winter garden. In that time, I have completed five sessions of chemo and have generally felt well and maintained strength. There was a time between my 3rd and 4th treatments, where I struggled mentally with getting ‘up’ for the treatments. In retrospect, this was a similar time as protecting the broccoli from infestation. Each day, I had to review, take stock of the end result and pick away the negative thoughts and stay strong. I made it through, just like the broccoli, to now have only 1 session left!
7/5/15
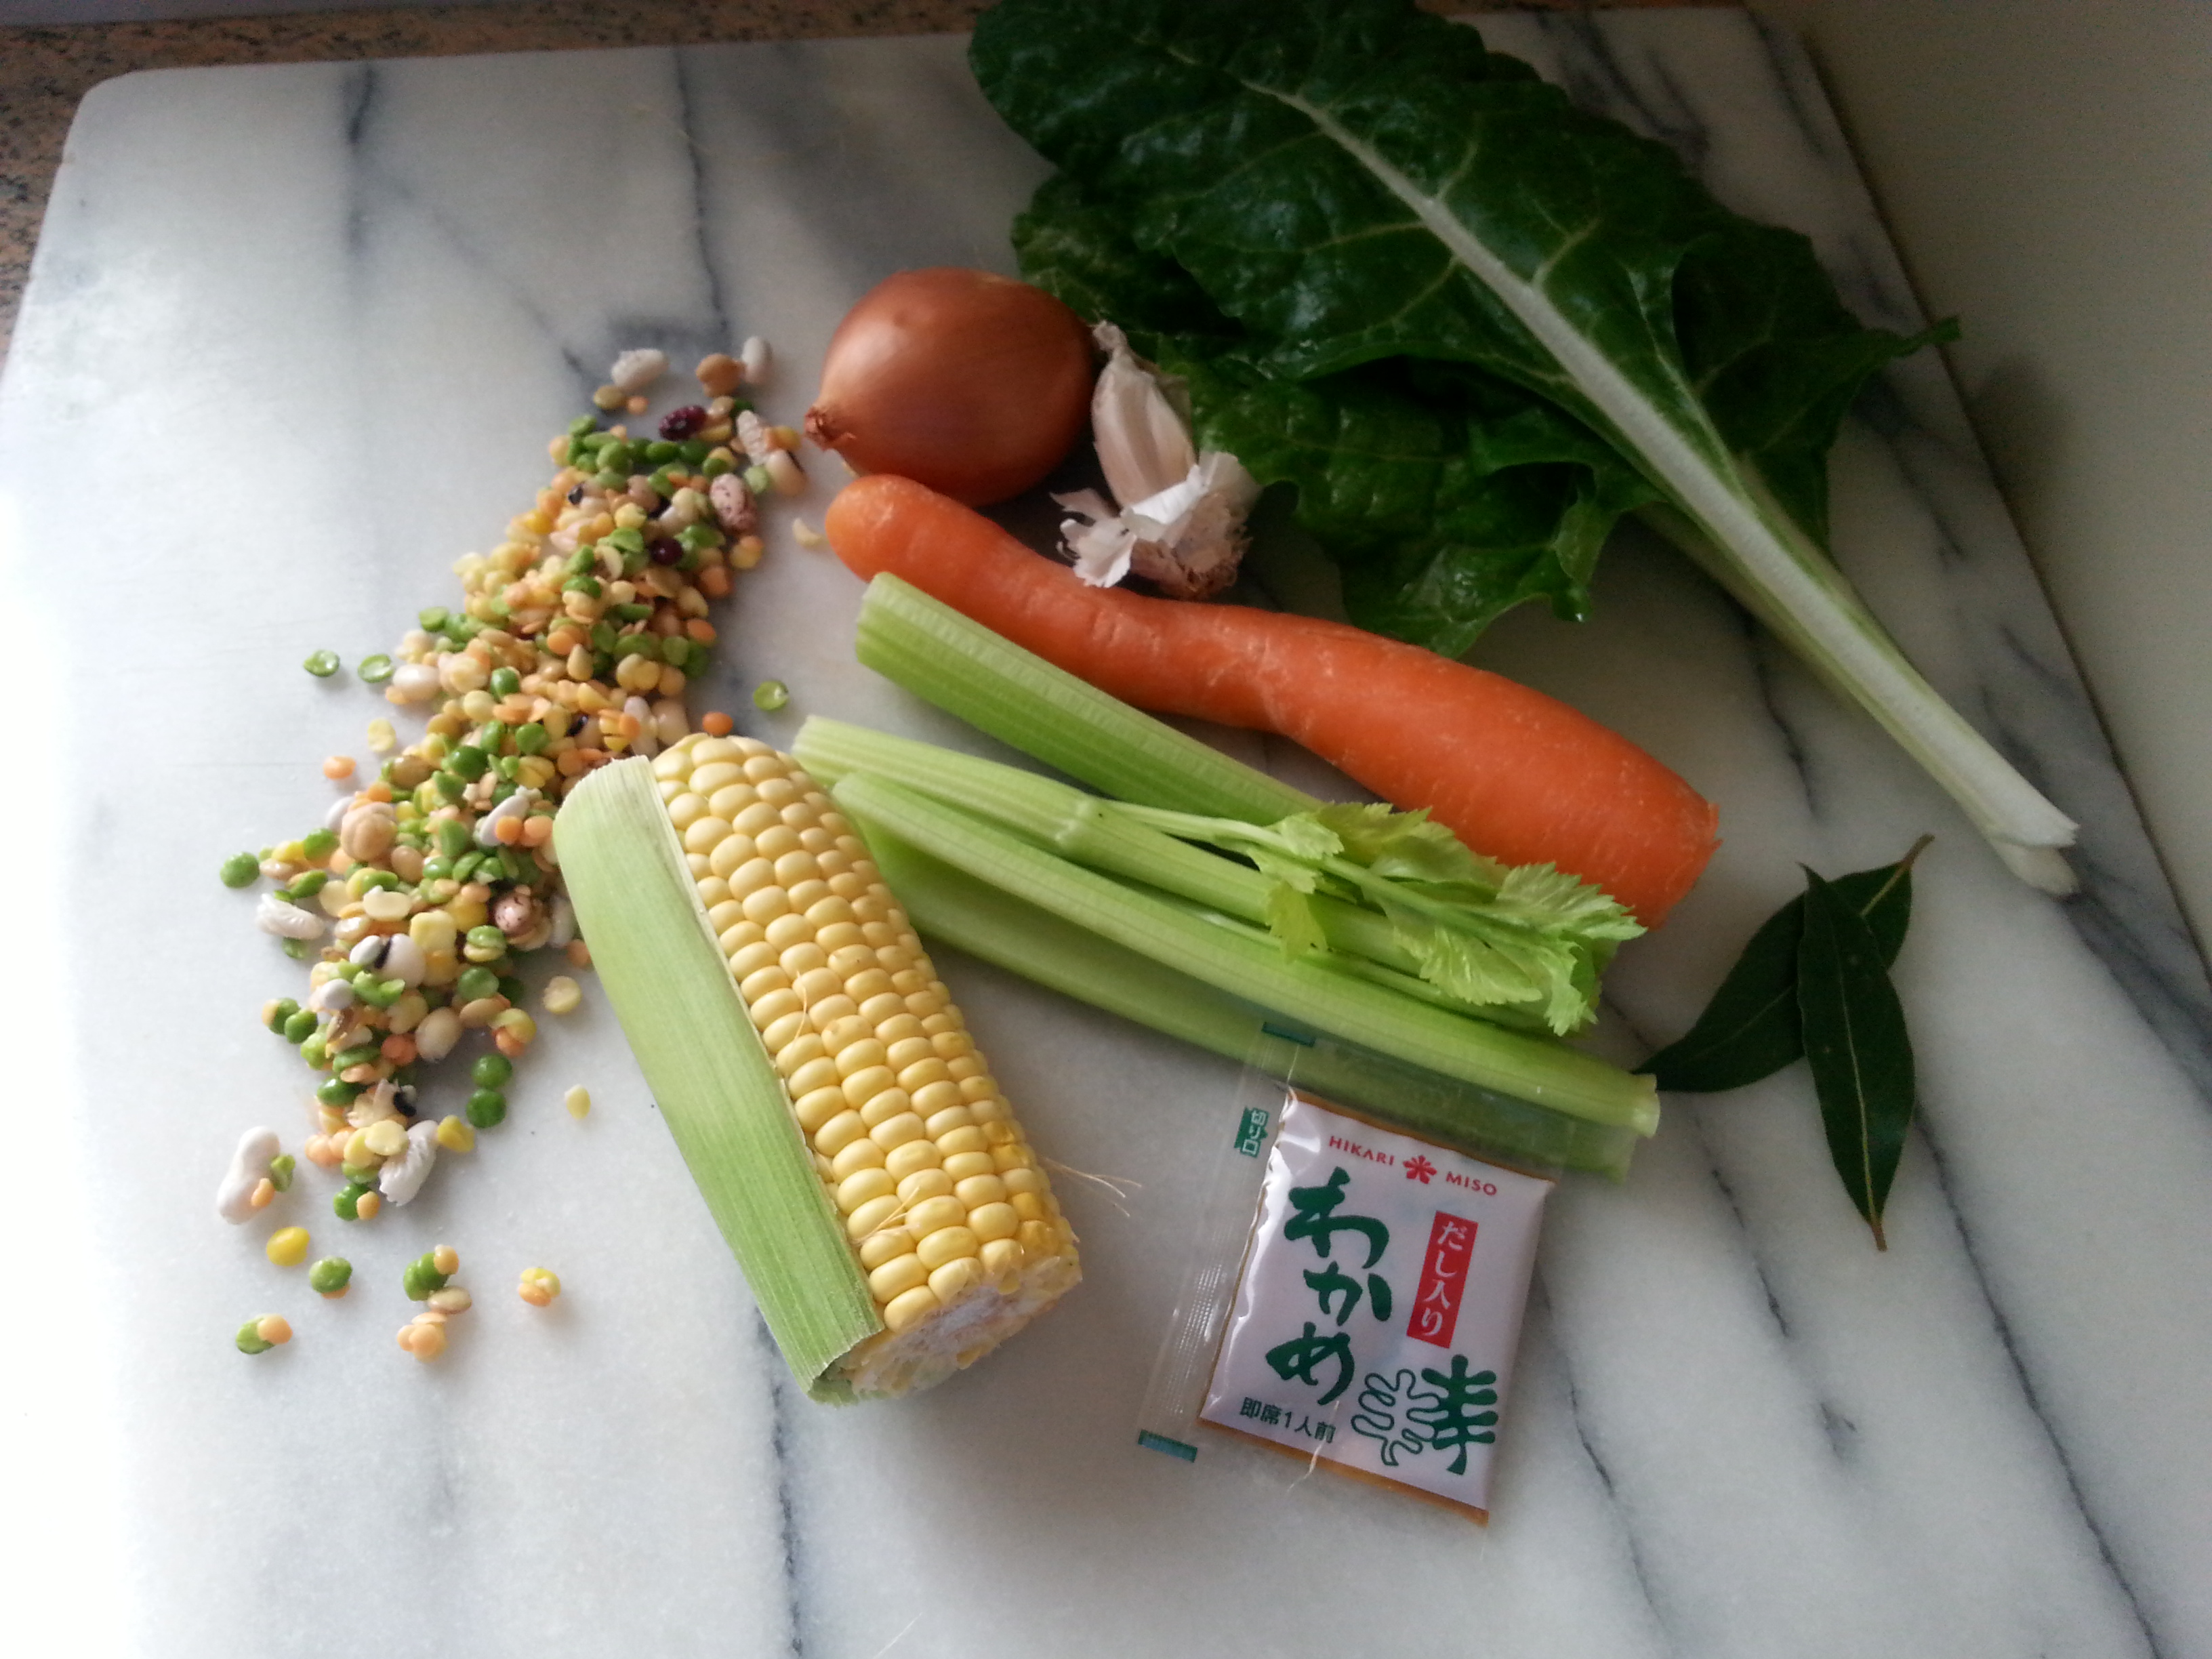
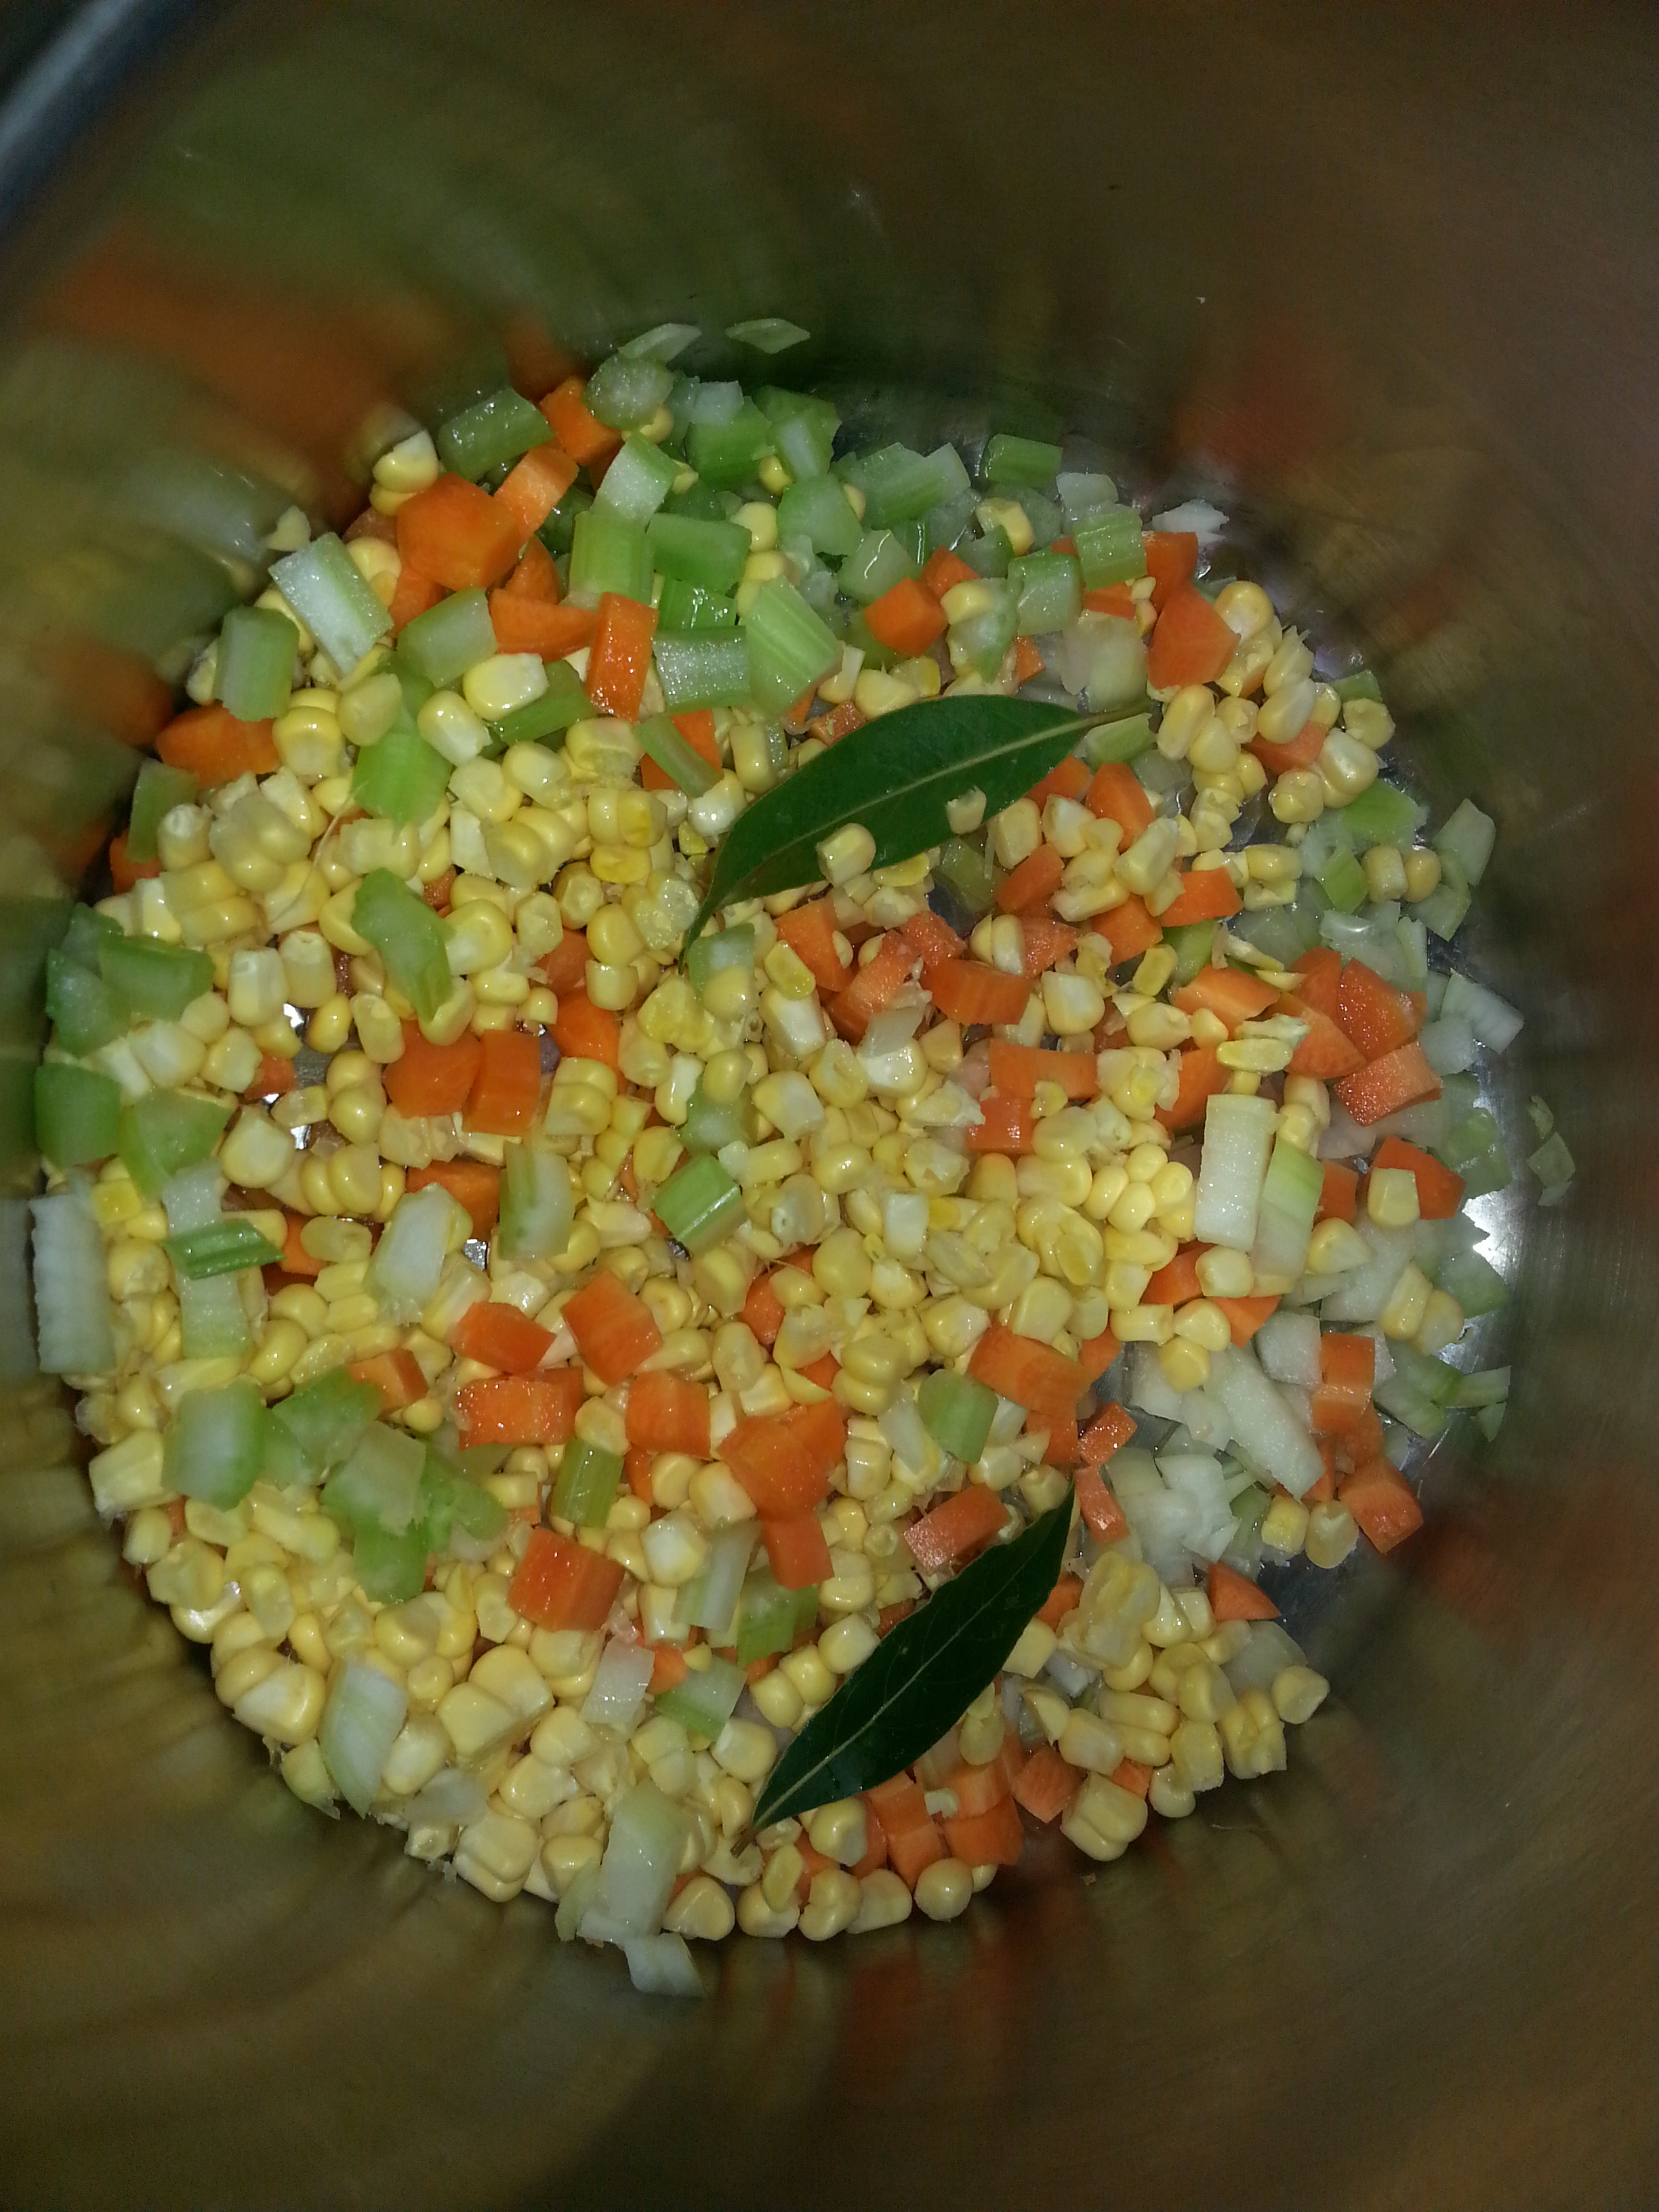
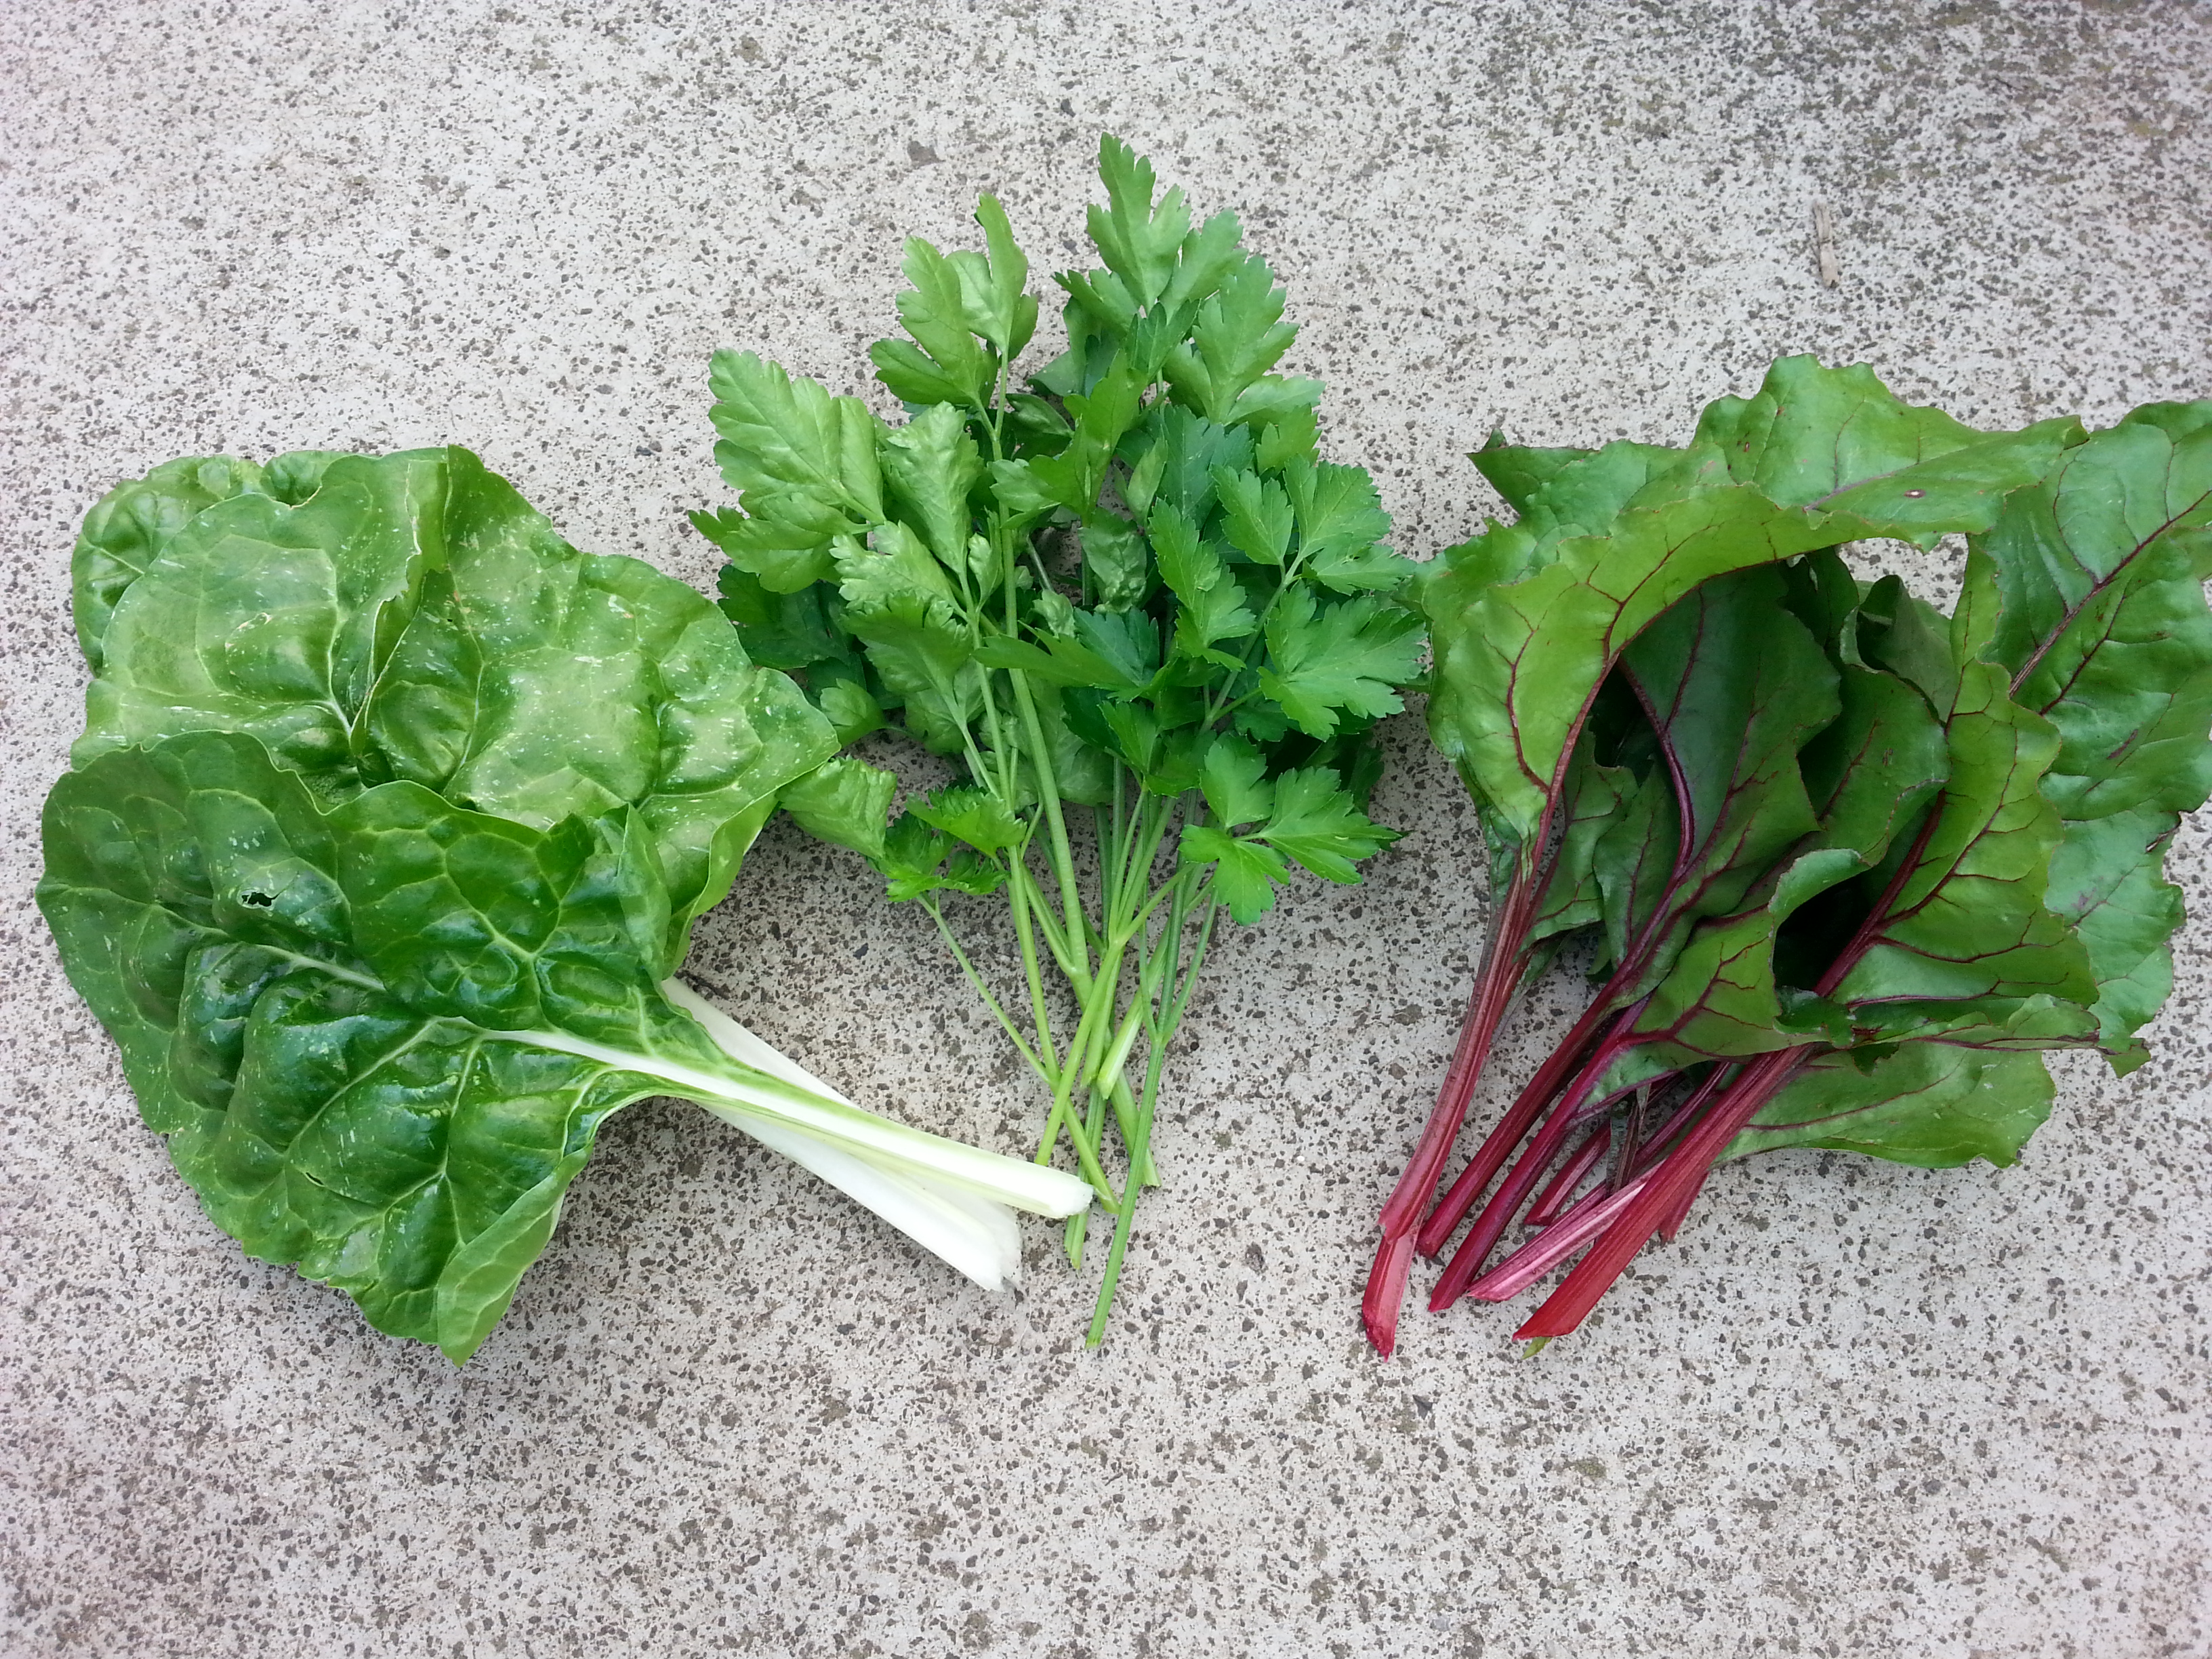
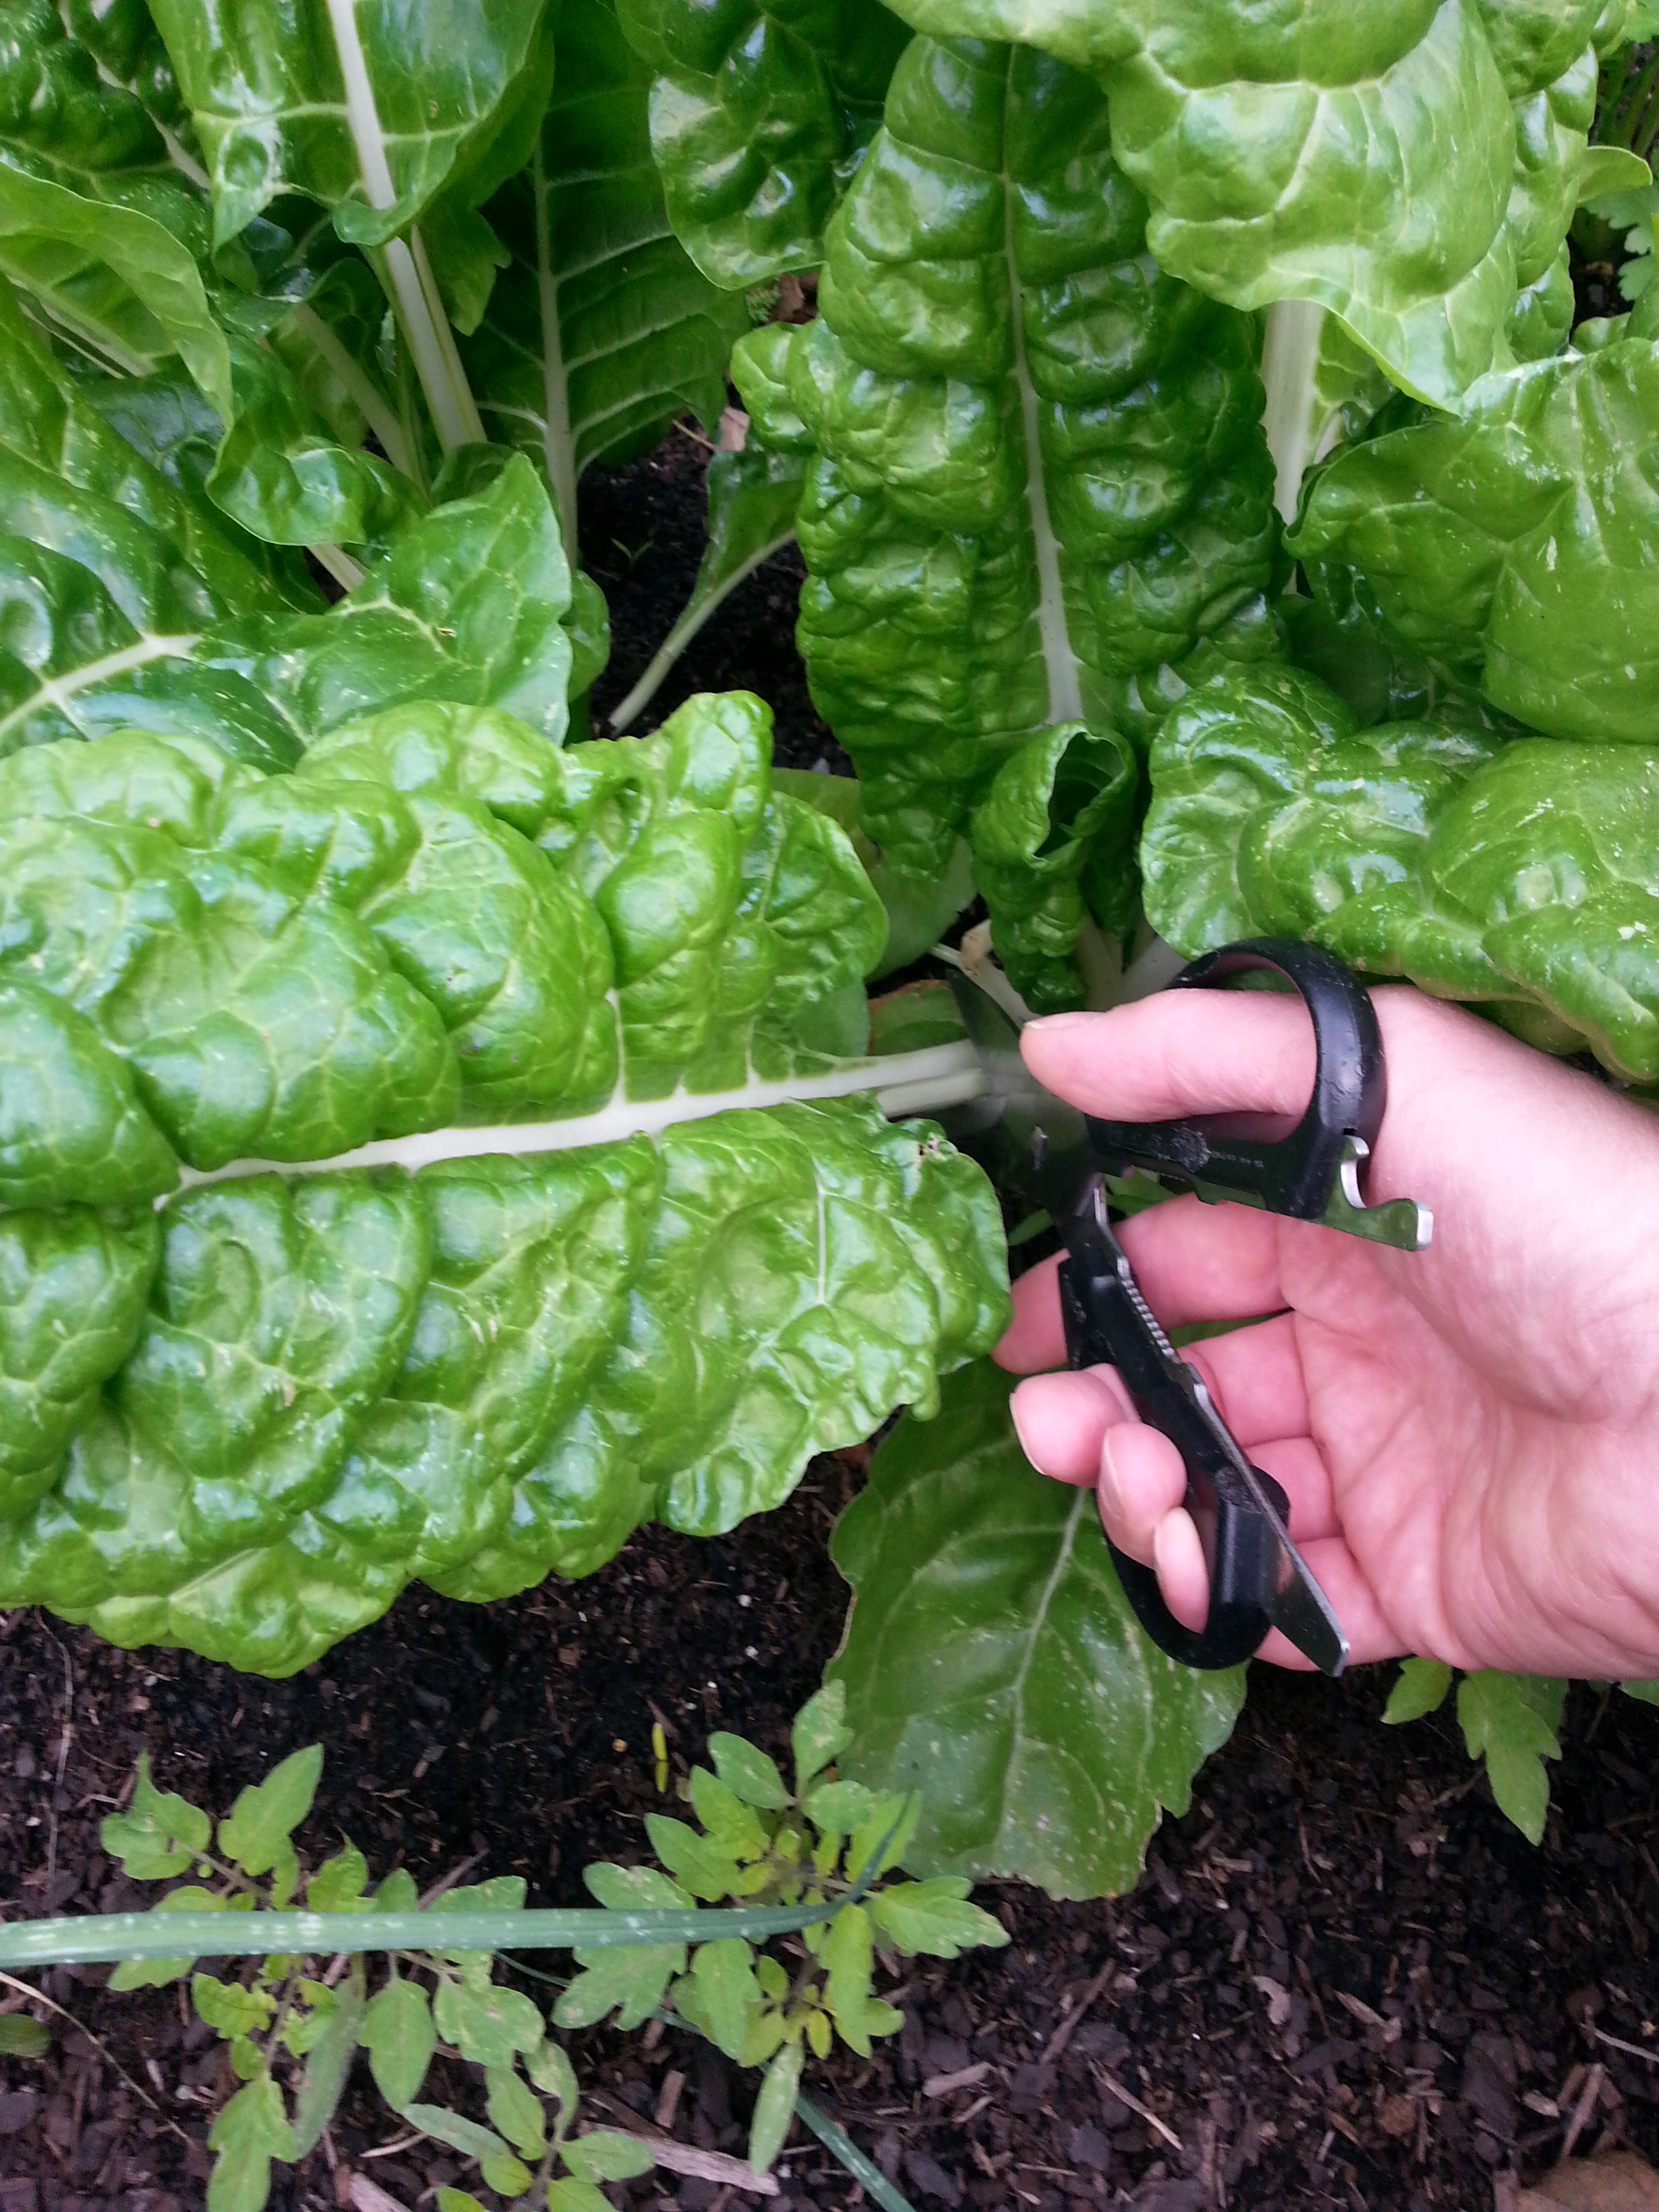
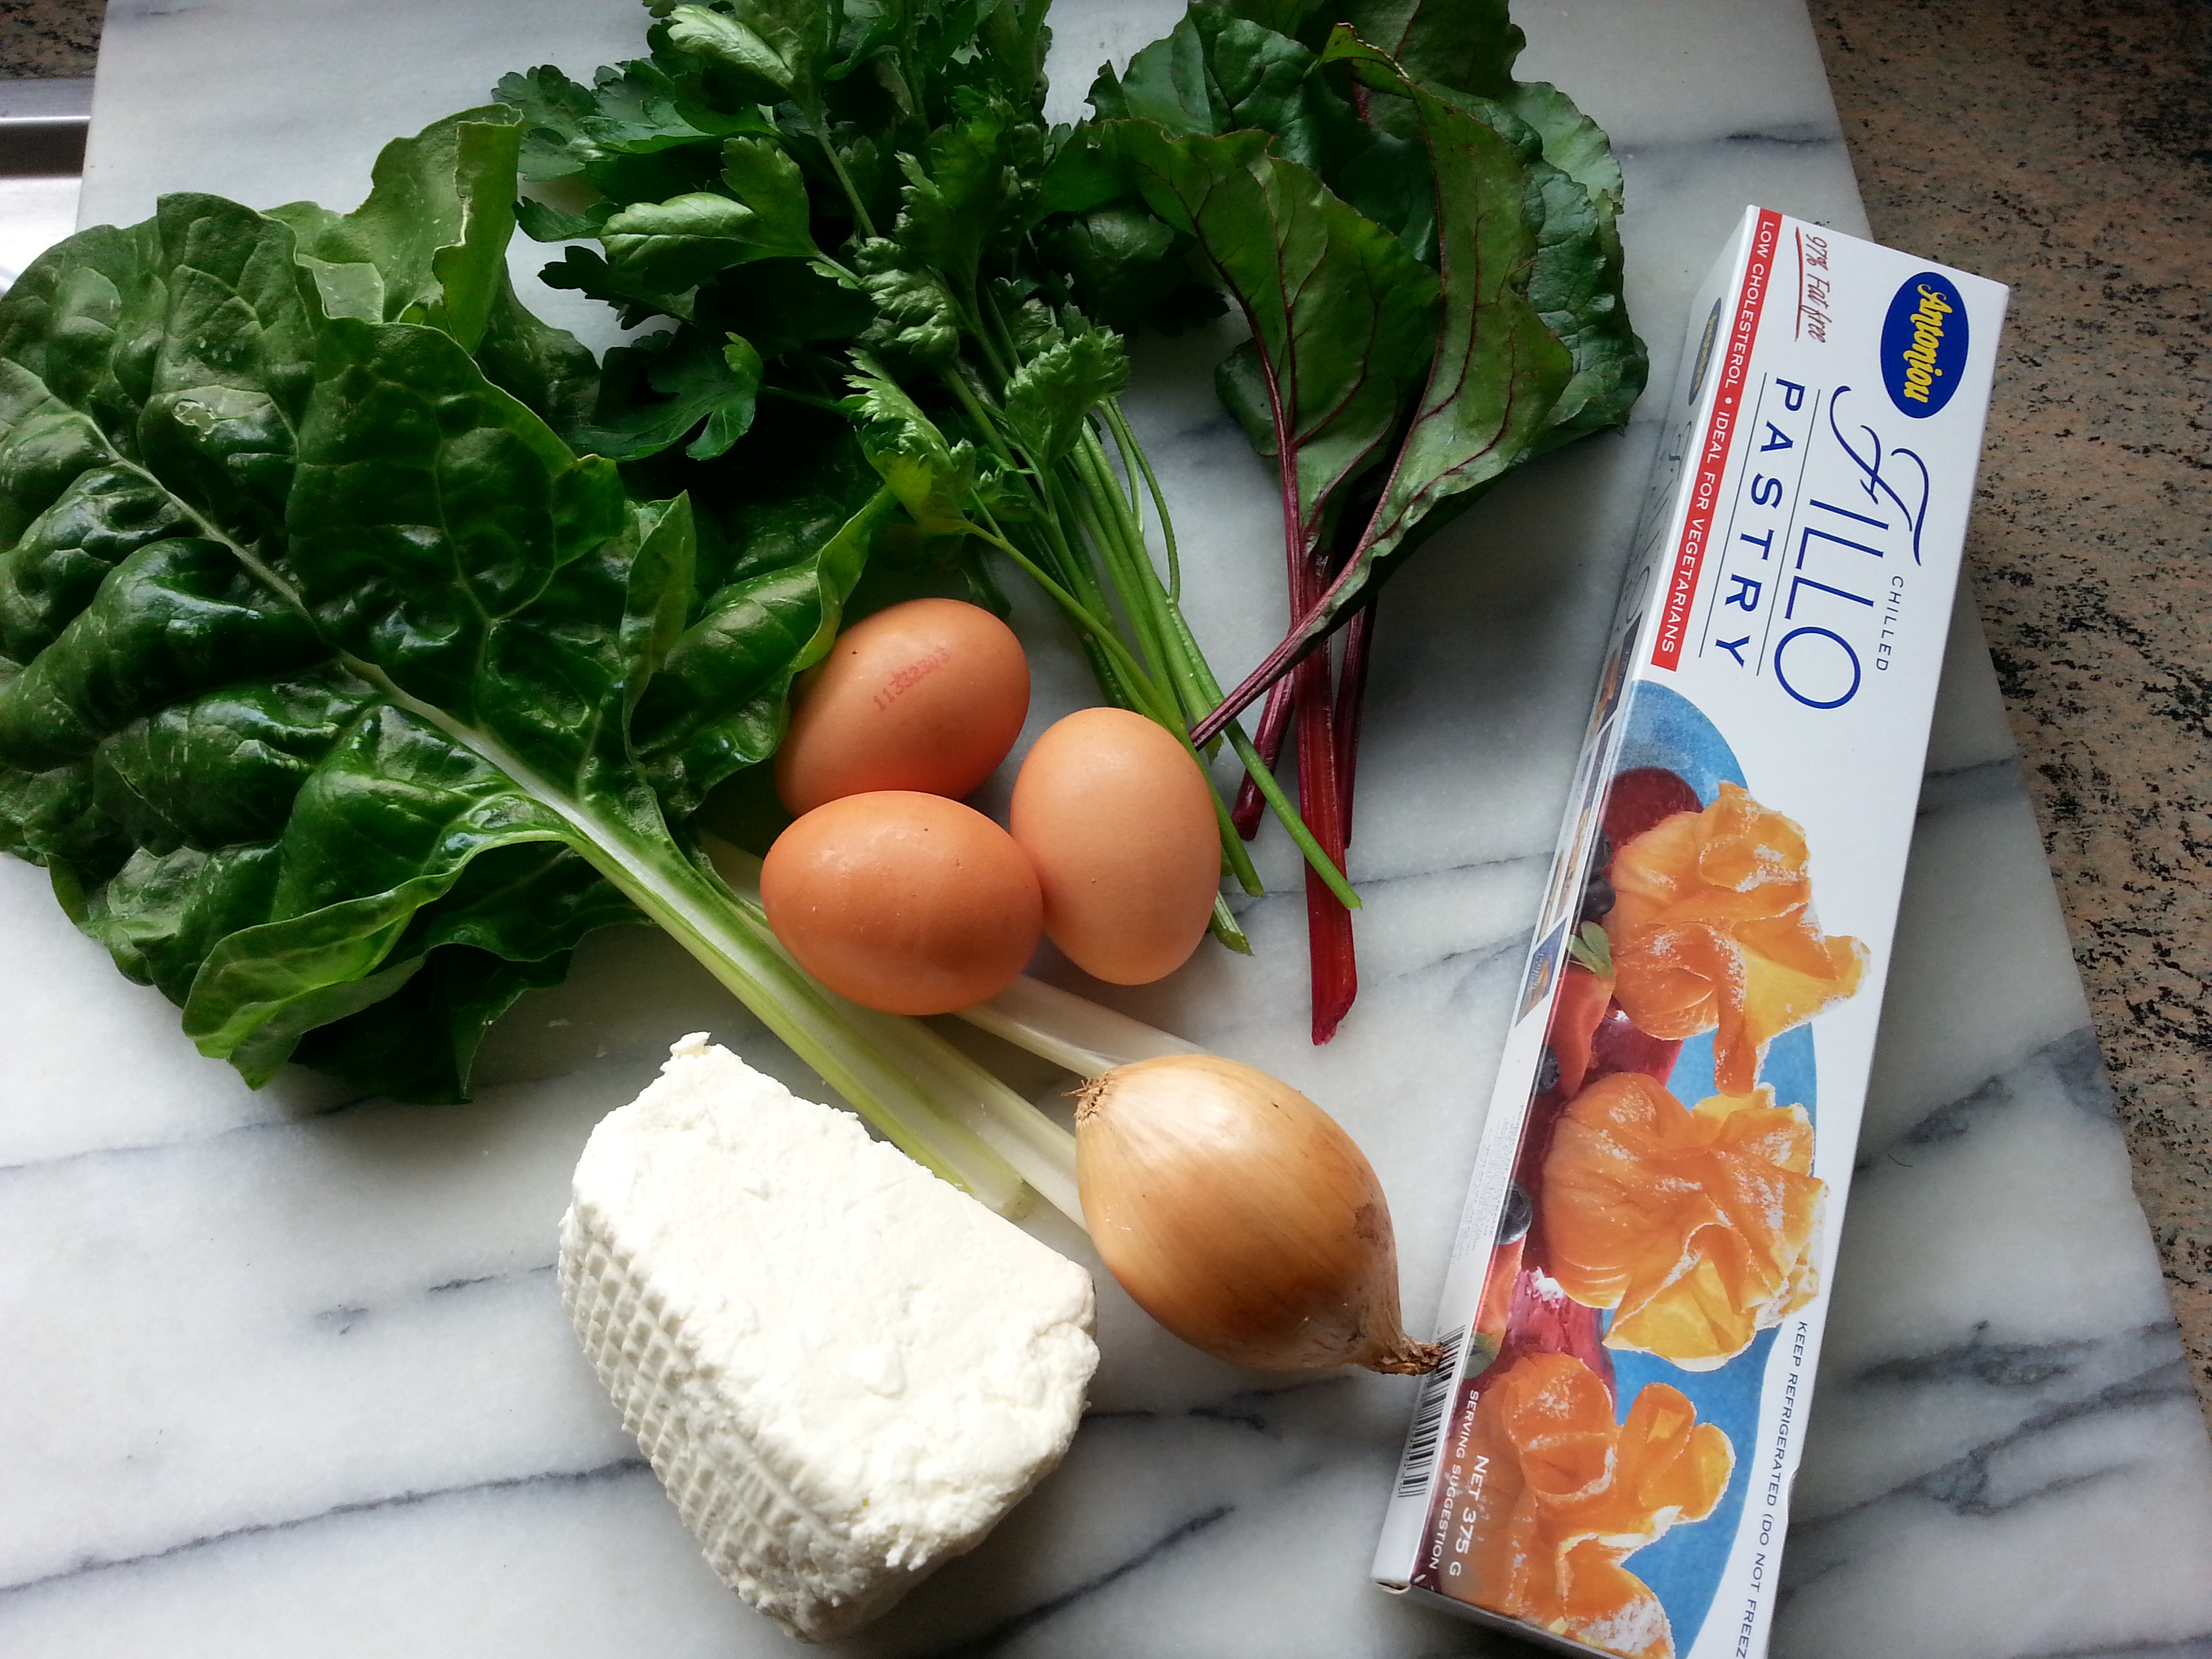
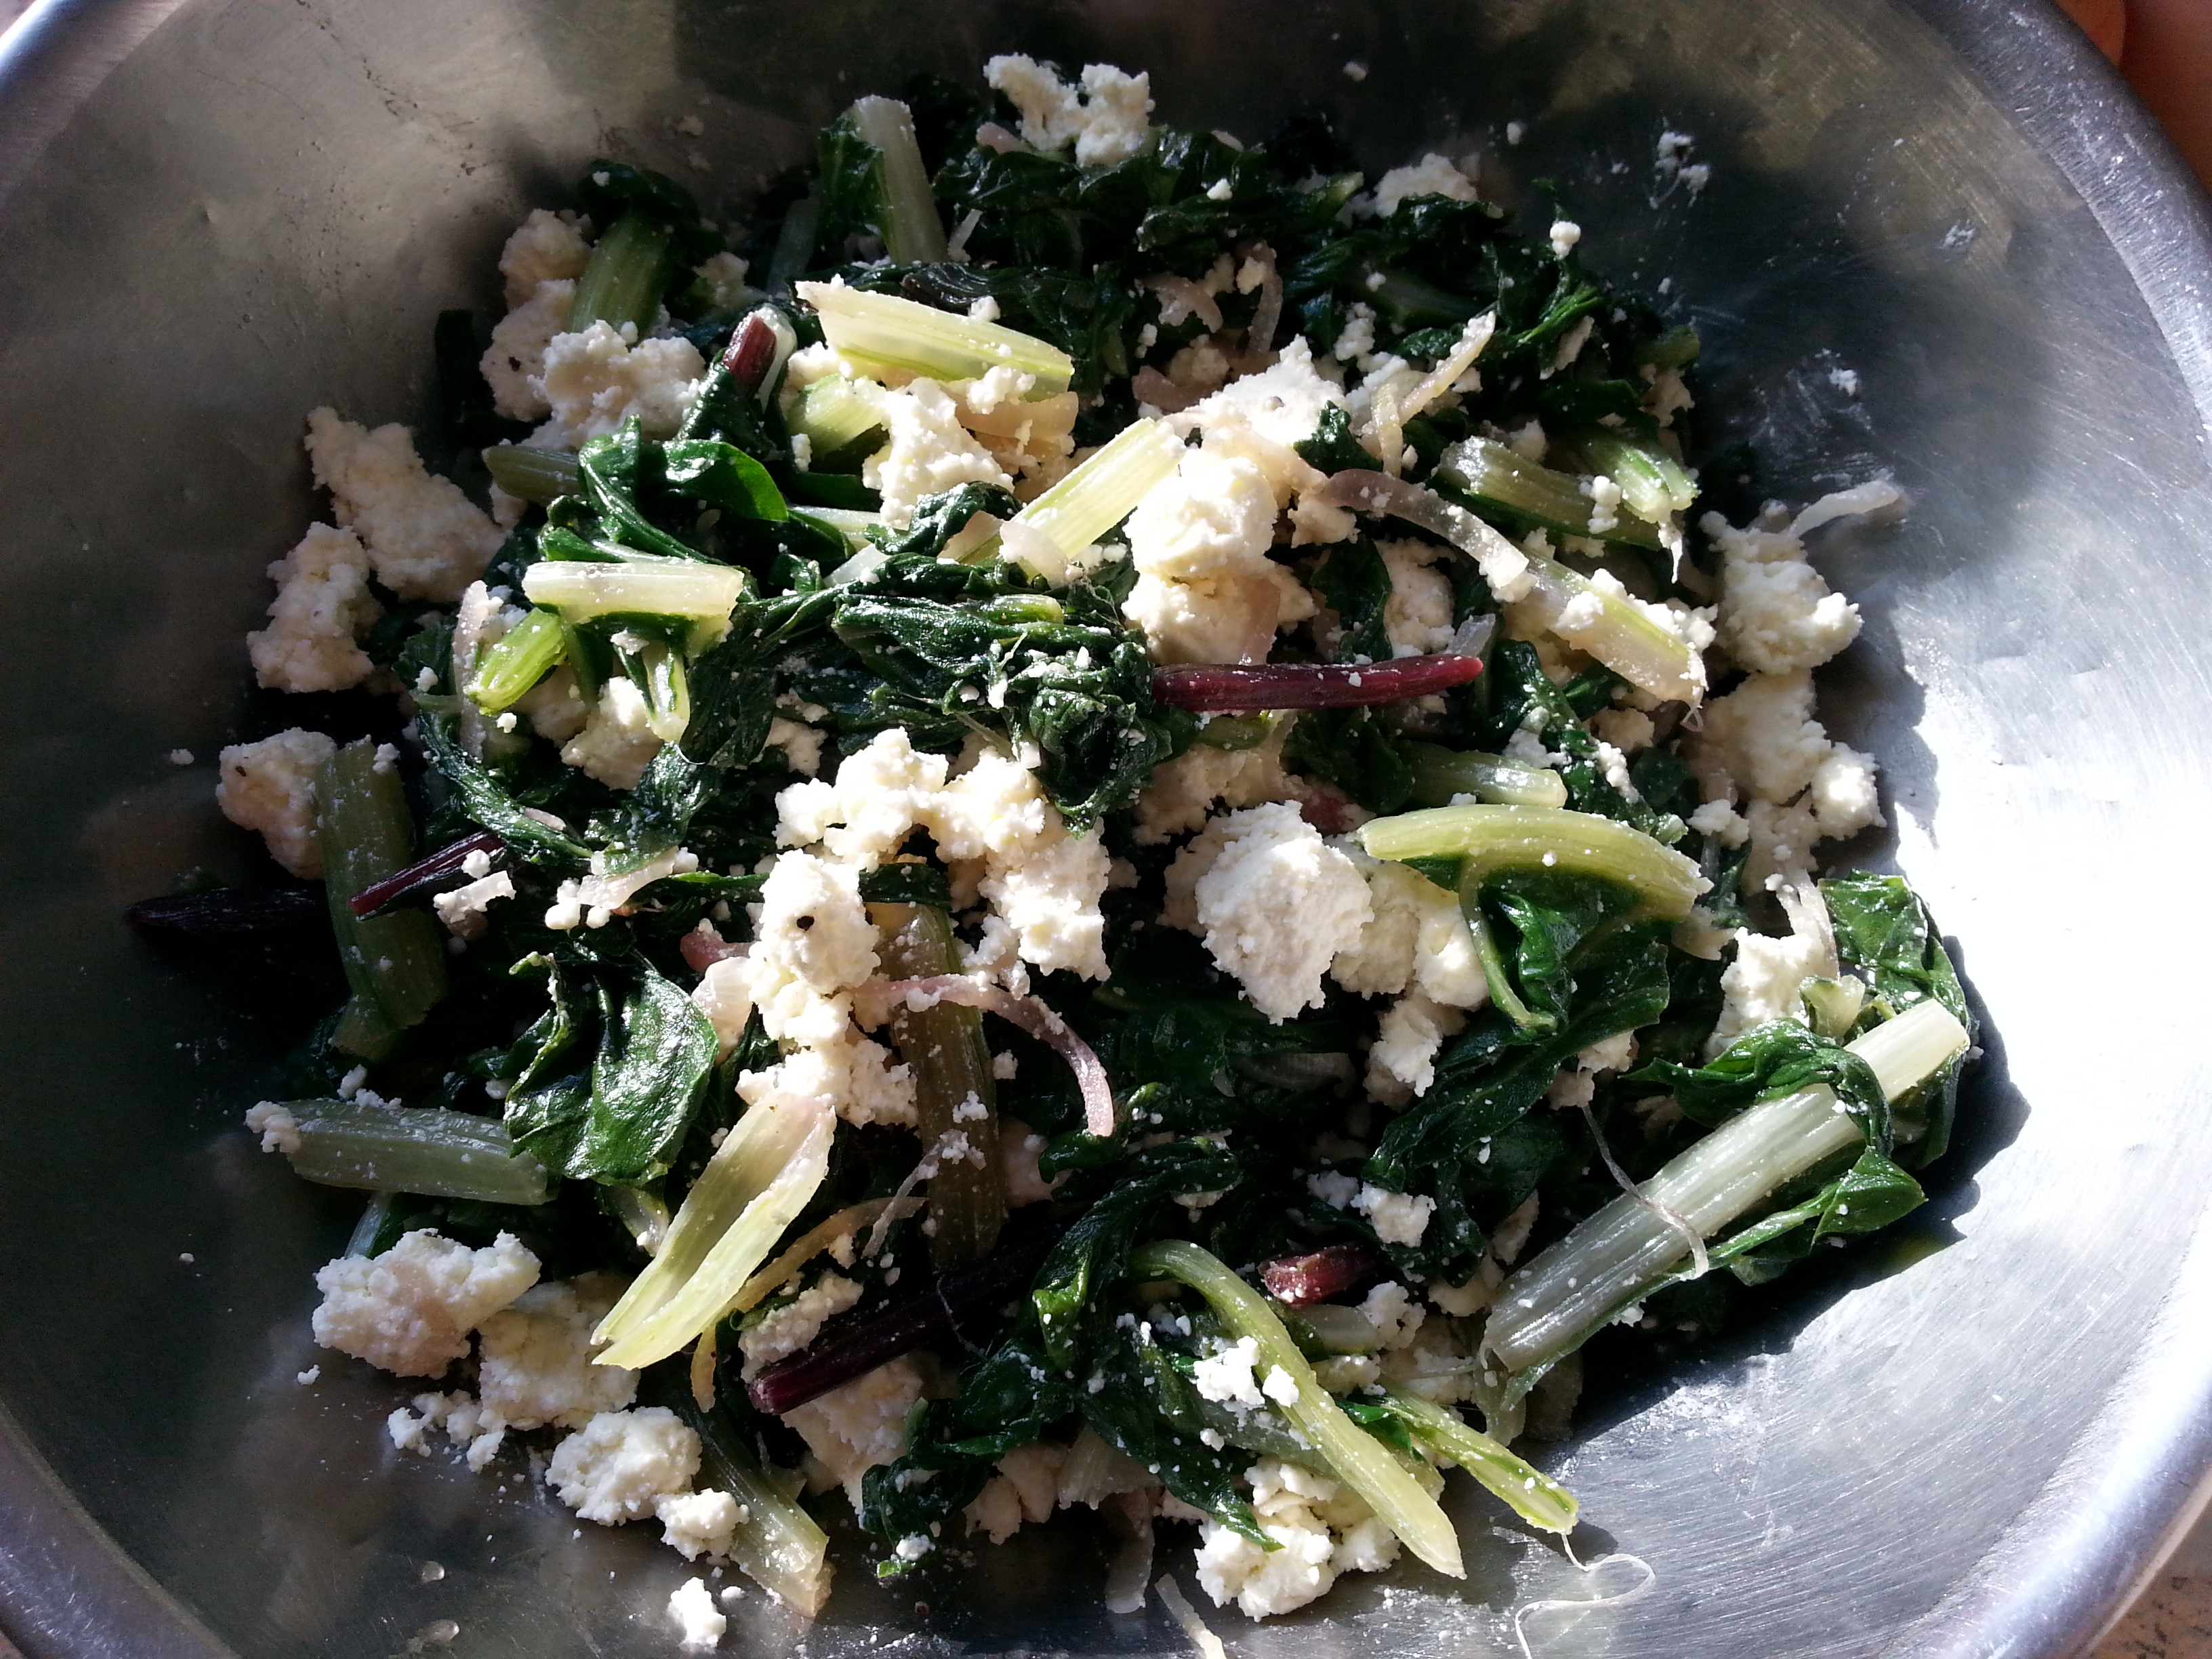
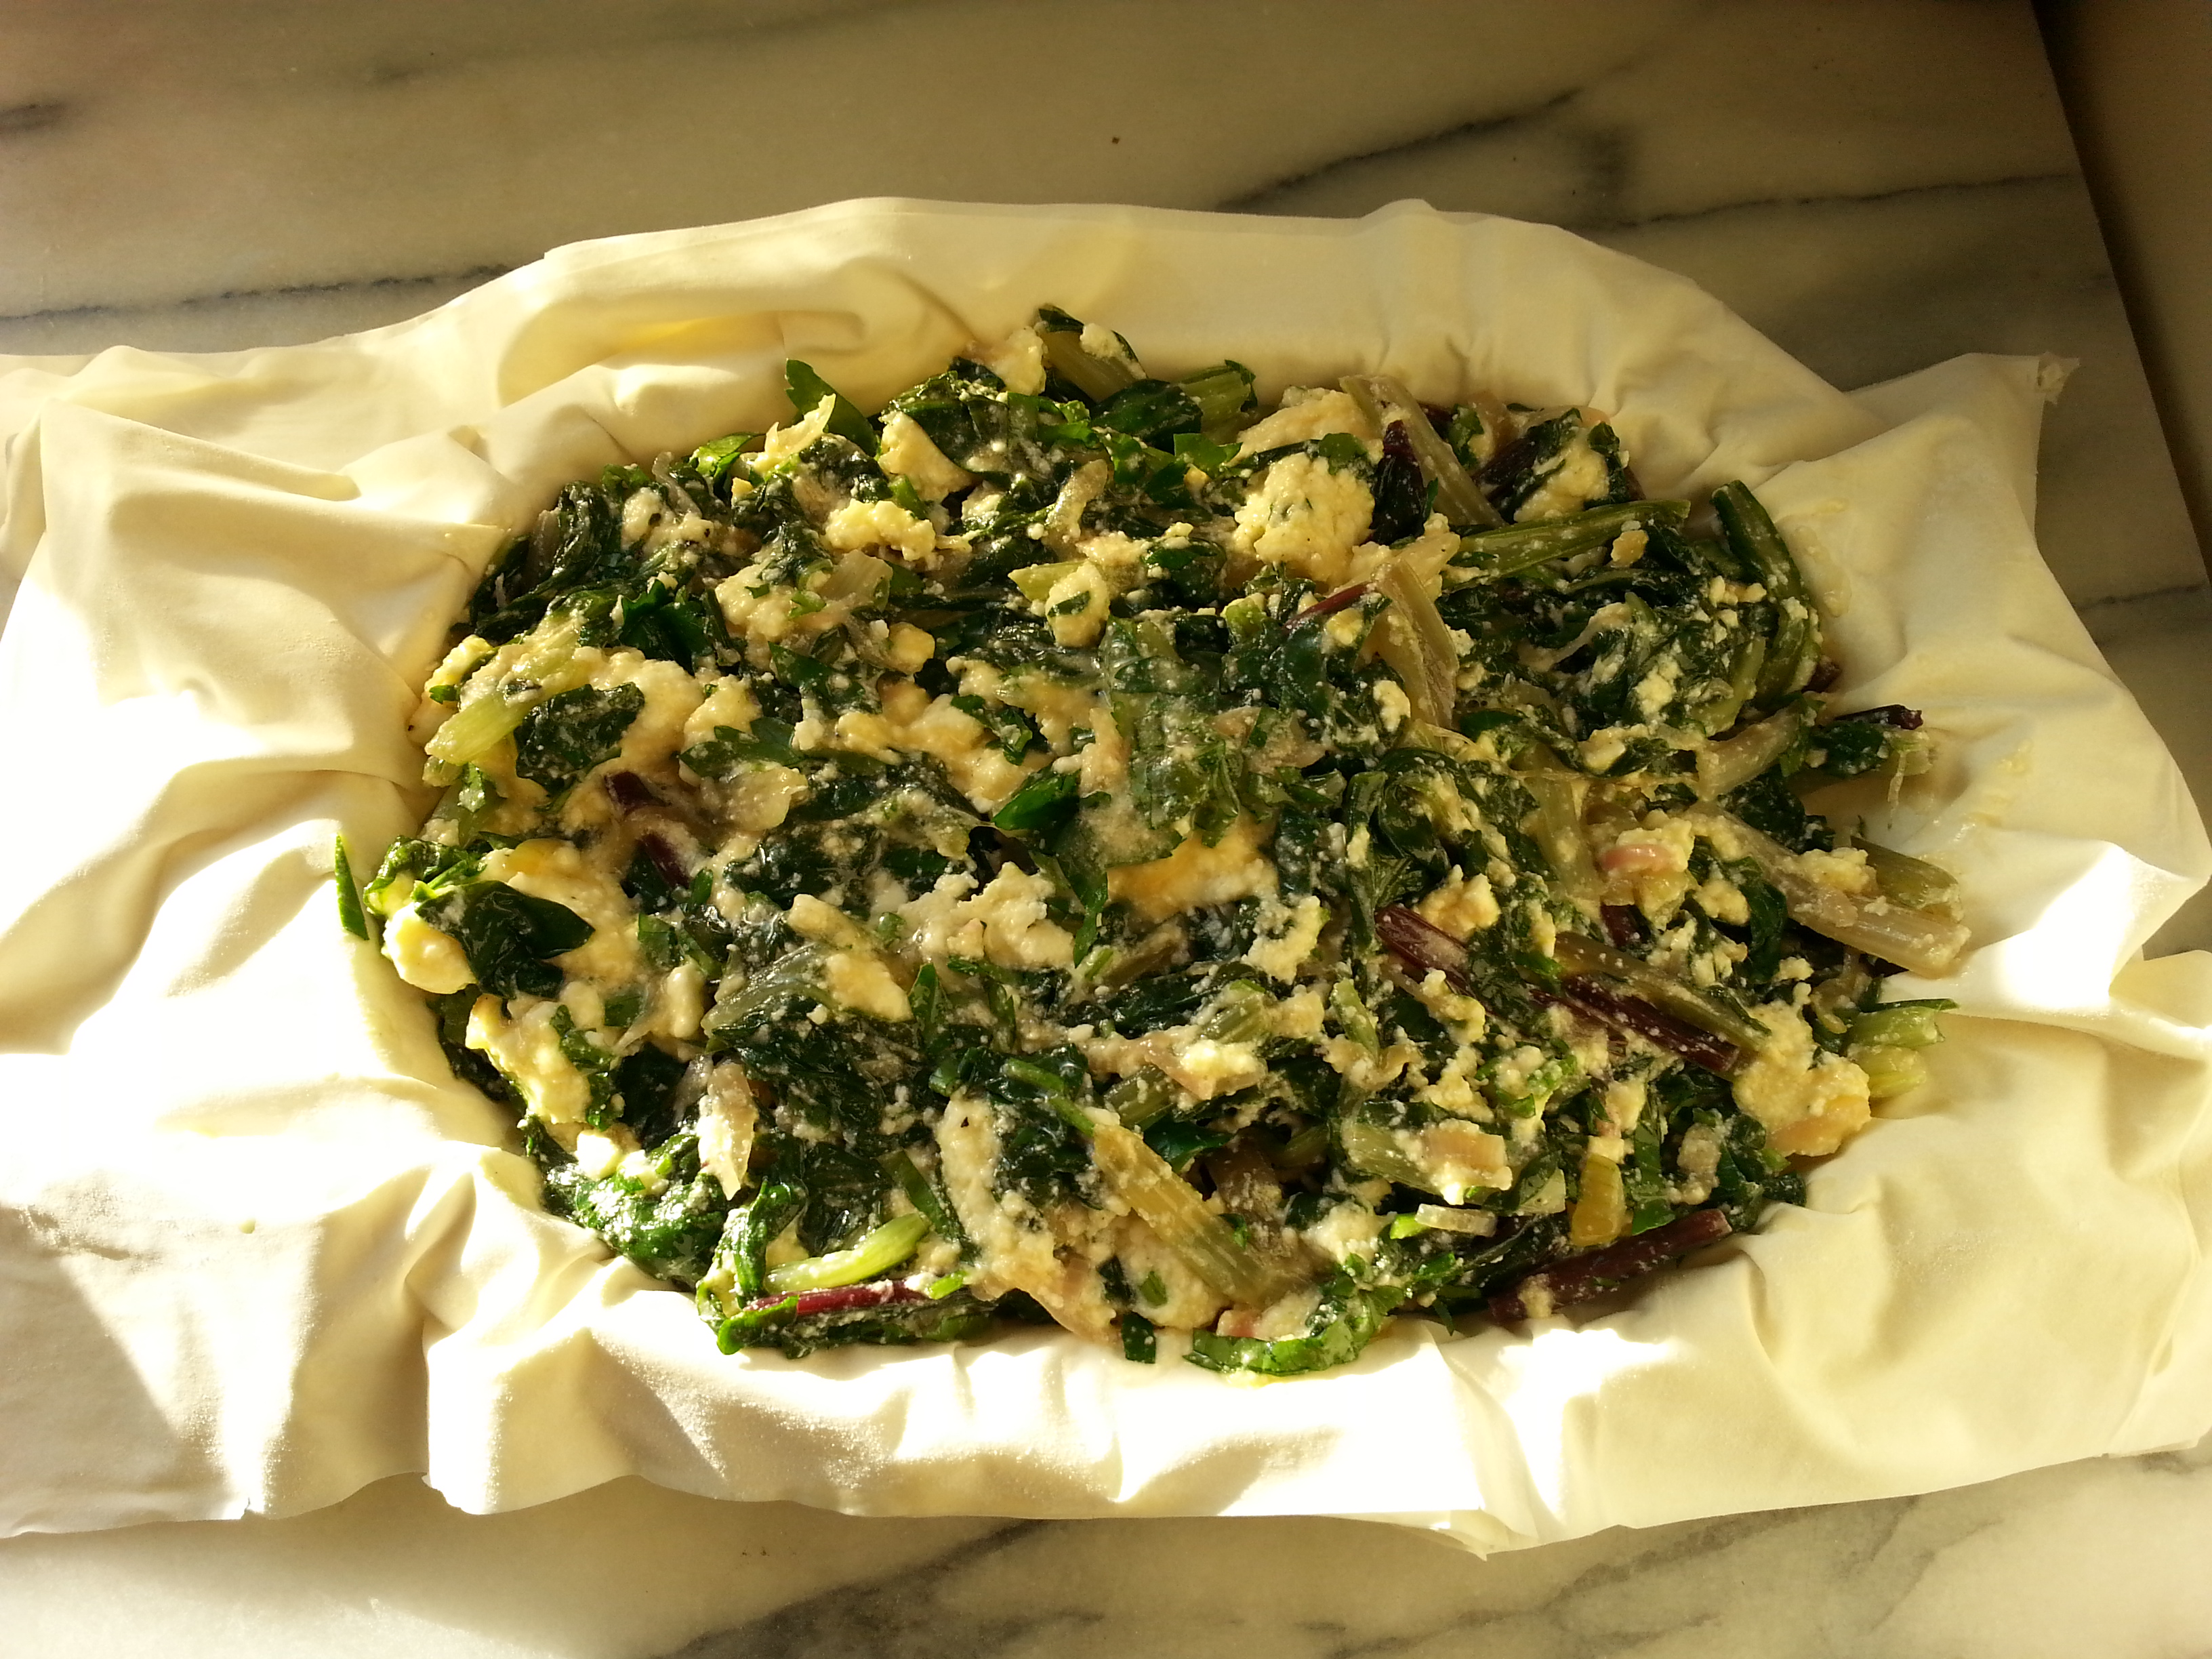
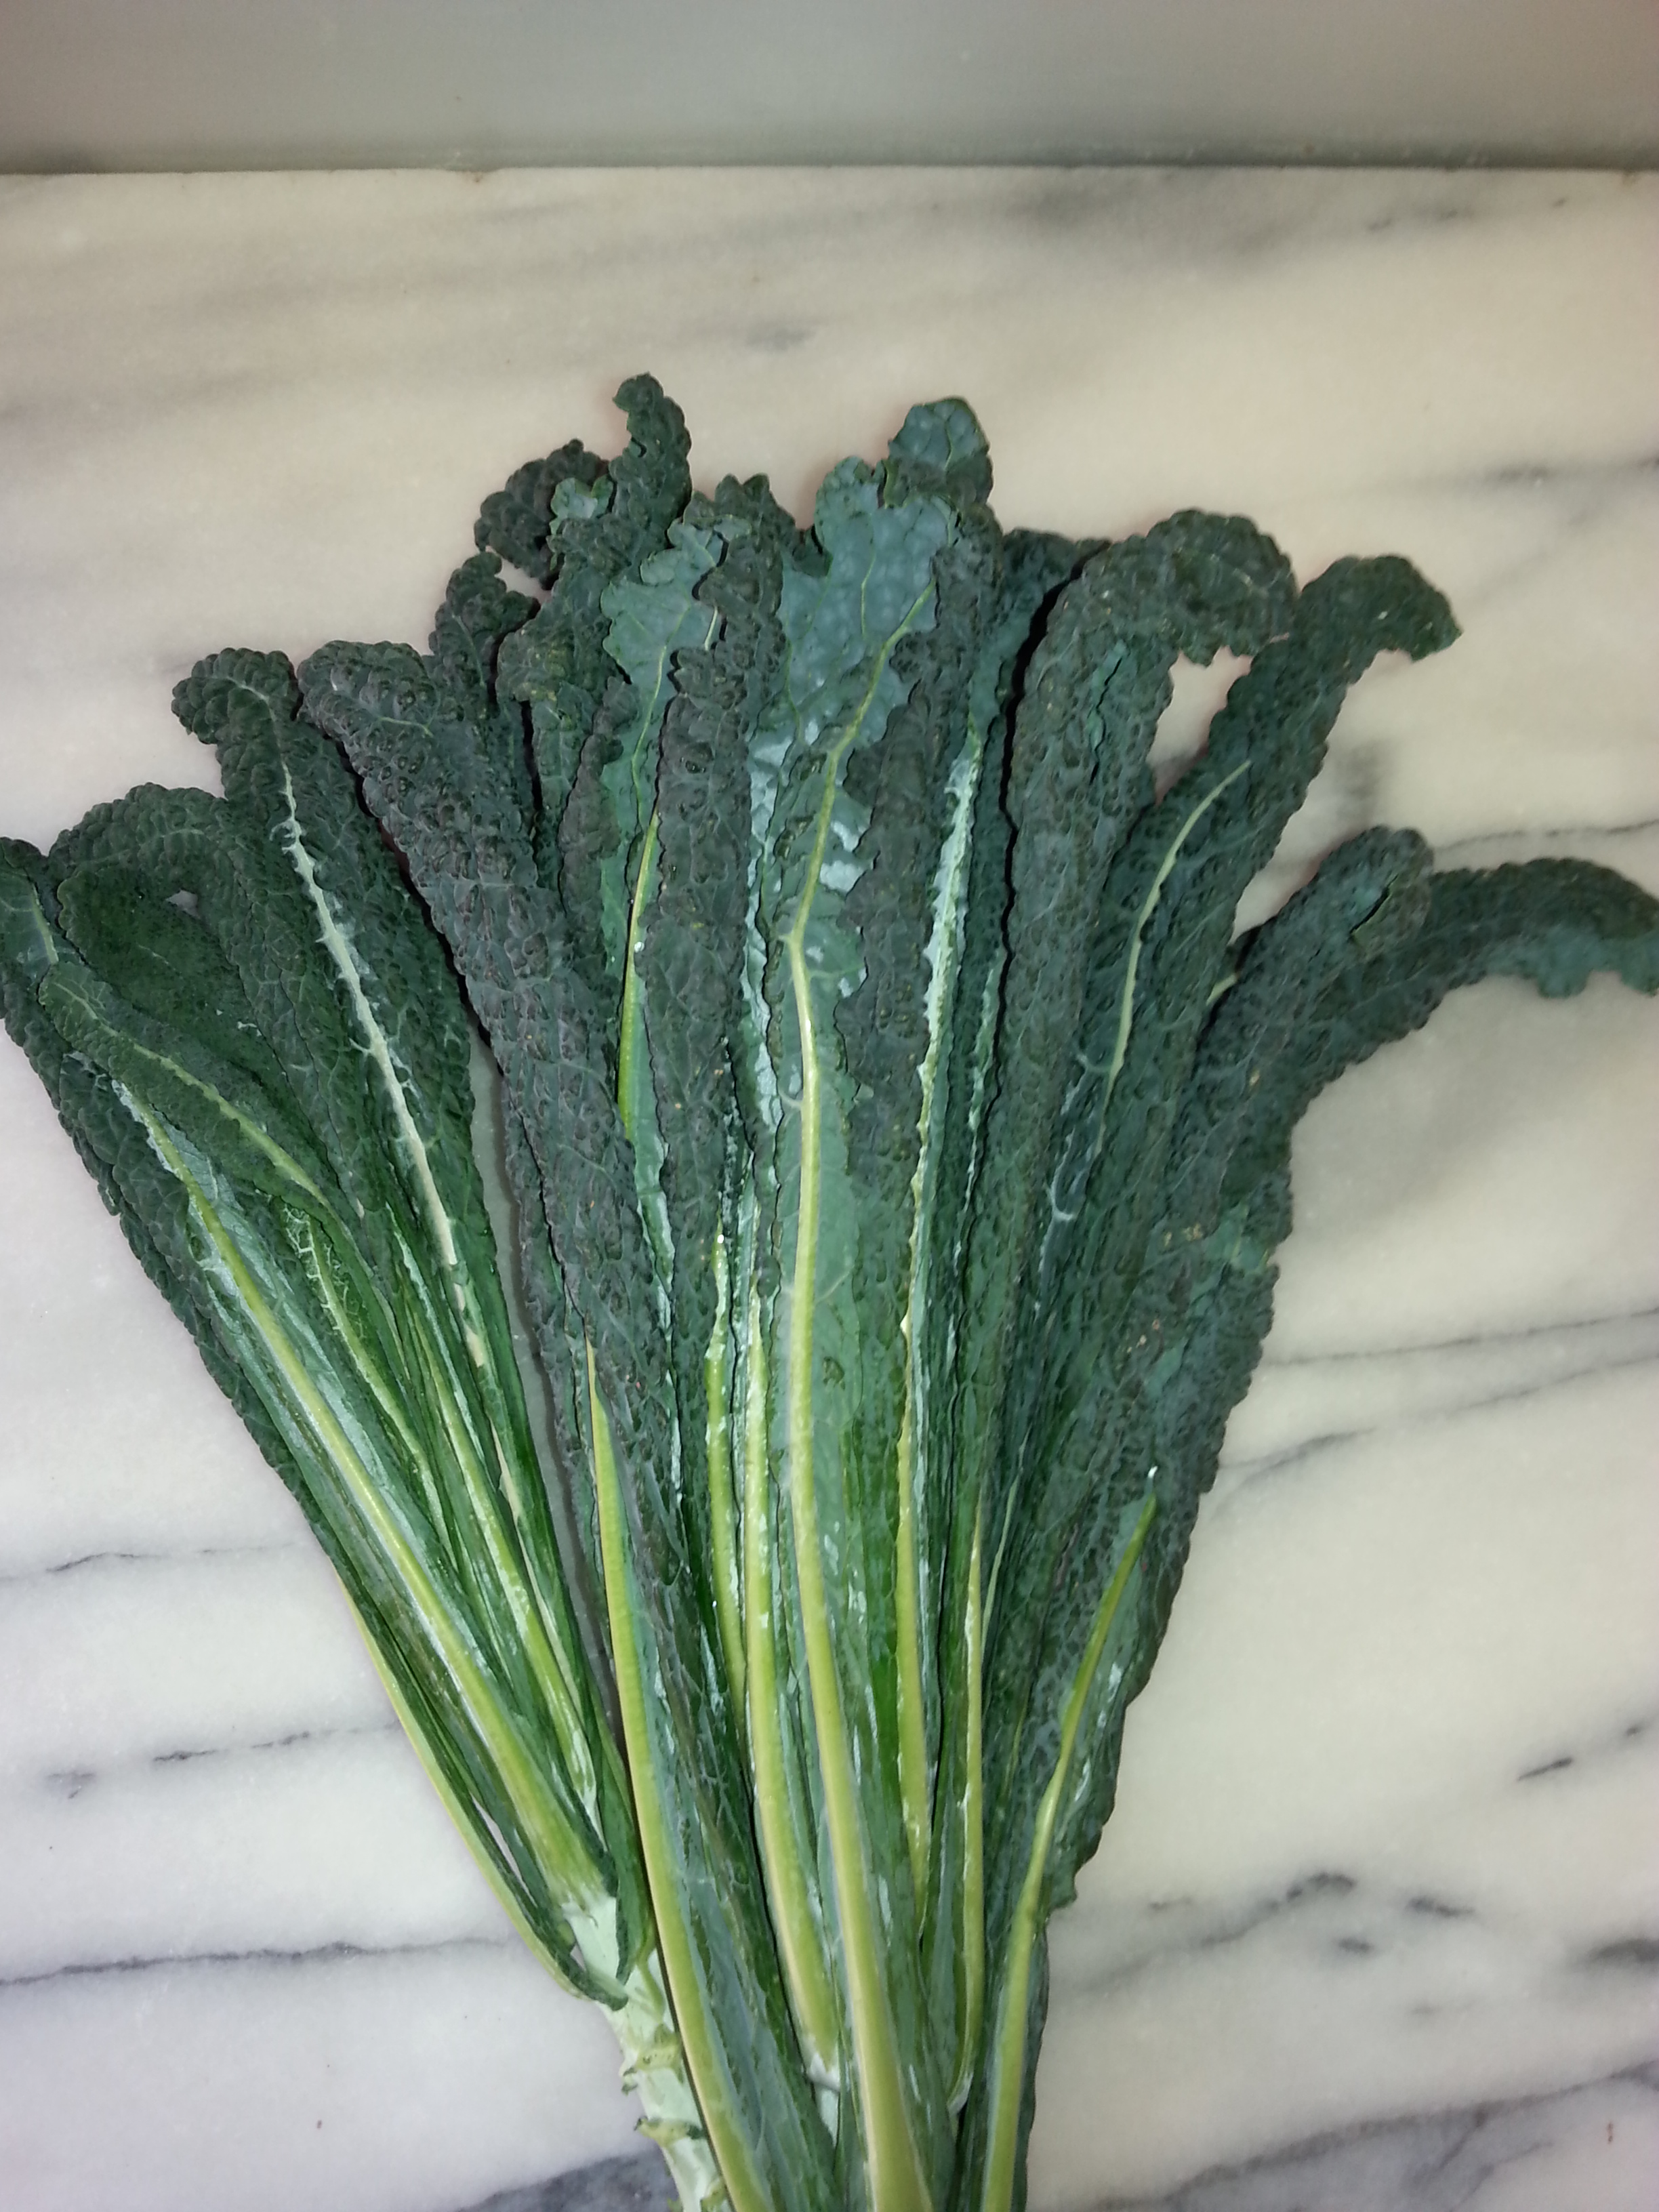
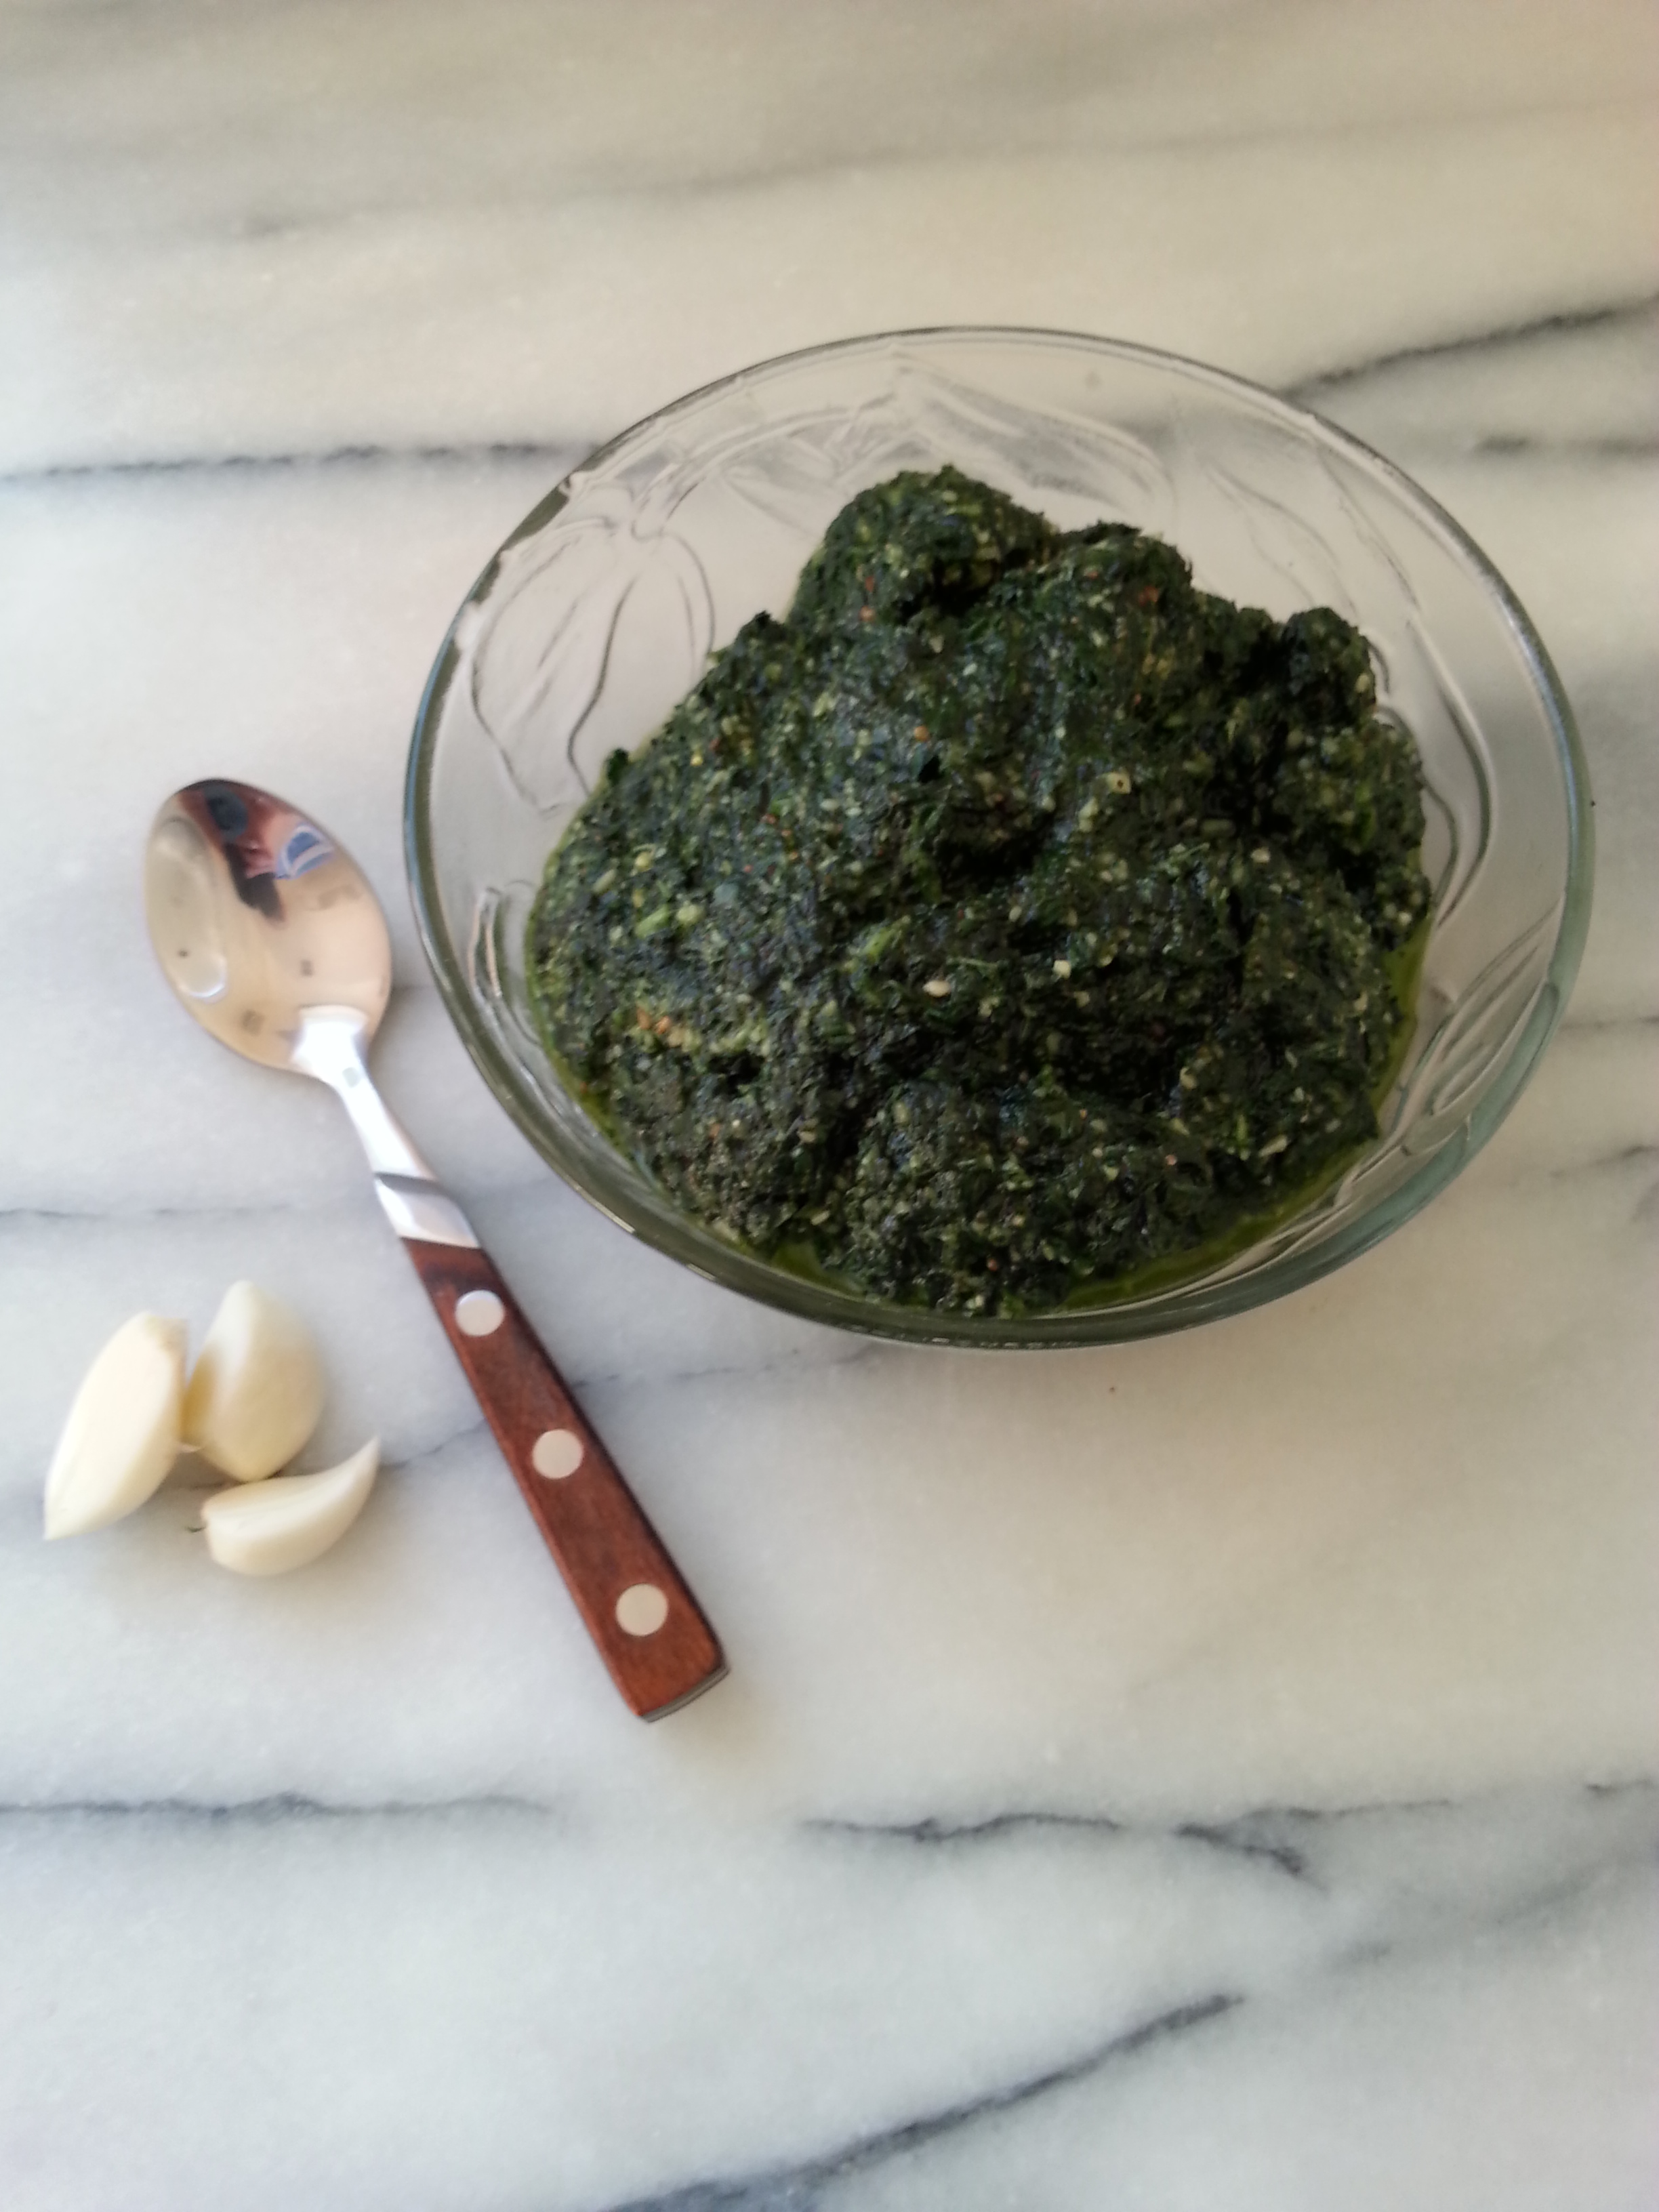
However, this will only be part one of treatment crossed off. Two treatments of methotrexate and radiation still to come. So, I am now taking full advantage of the wonderful bounty my garden has delivered to keep me well and strong. As seen on previous posts, I have started to harvest. Silver beet has been made into soup, quiches and pies. Cabbage has been used for stuffed cabbage rolls and braised with bacon. Baby beetroot has been boiled and panfried, with the leaves steamed with garlic and olive oil. Kale, also only needed to be steamed with garlic and olive oil and of course, I made some kale pesto. Celery from the garden, is replacing the store bought one in my daily juice regimen as is parsley going in. In fact, parsley is going in everything at the moment! And I even juiced the broccoli leaves today. Why not!
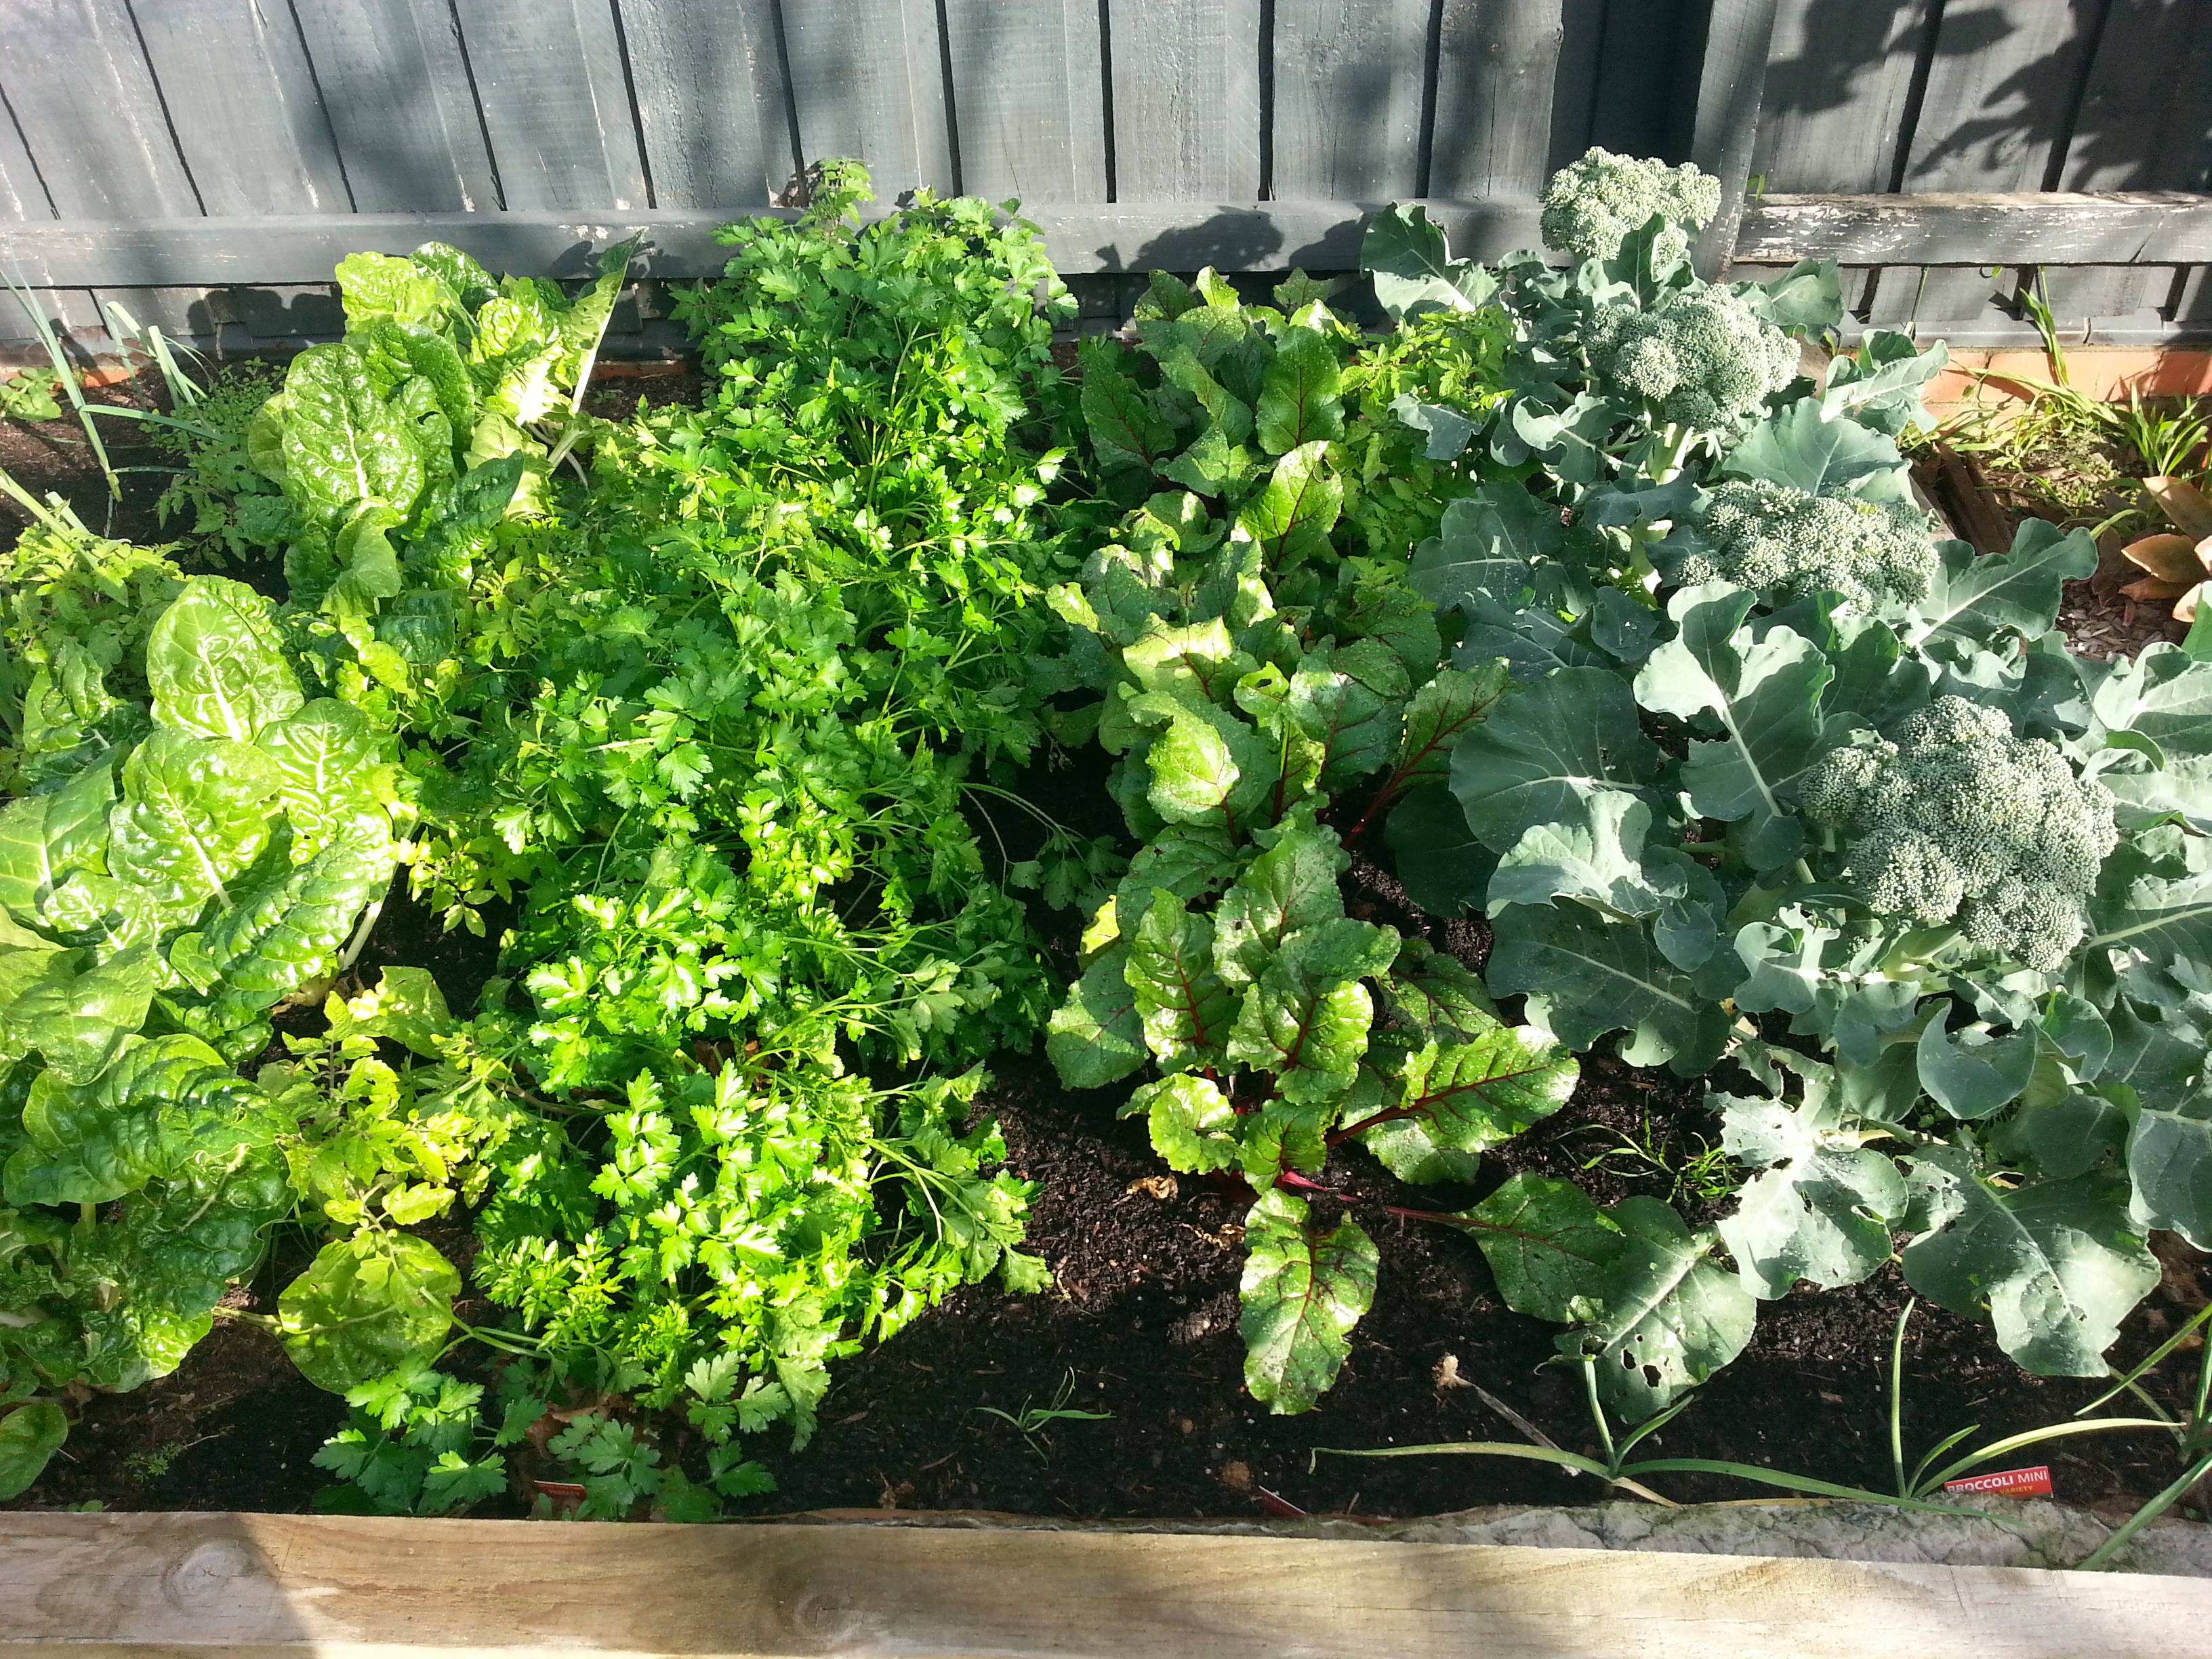
The well being garden 24/6/15
Grow well, eat well, be well!